
Bike modification: Time Trial Shifters
Cycling!
Ignoring the ubiquitous desire to pick up new side-projects to squeeze some mechanical engineering & design sauce into, cycling has always seemed a good combination of good exercise and somewhat practical transit, and I’ve commuted via bike a handful of times through college and as an urban professional.
Now I have to admit I’m proud of myself for holding out for that entire second-half intro sentance, but I mean, come on, the bicycle parts market screams engineering hobby! There’s endless room for cost-centric performance optimization or crazy projects, ranging from the beautifully engineered carbon frames to shockingly dangerous record contraptions. So, I bummed an old time trial bike off my neighbor, borrowed an old beater commuter from my dad, and began my (very healthy [and expensive?]) d̶̢͉̫̜̥̙̝̿̈́̀̆̋͂̕͝ě̴̼̠̜̀s̷͕̣̟͚̤͎̘̗͋́̄̄̋͛̑̏ͅc̸̱̲̼̞͓͑e̷͇̰͊͊͛ṉ̷̛̛̛̗͓͍͕̔̃̀͋̅t̴̤̘̮͖̄̈́̽ ̷̡̧̺͓̯̣̄͐͌͒̈́̇͝í̶̪̮̗̤̹̹̭̽ǹ̷̩ţ̸͓̟͔̜̺͓͈̠͌͜o̴̧͓͙͔̞͐́̓͋͑̆̏̍̋͘ ̷̛̭͉̜̬̥̬̆́͋͗̓̊͊̏͜c̷̨̛͇͇͕̰̝̹͉̫̭͊̂́͋y̴̢̼̩̝̫͝ͅç̶̢̛̣̩͍̥̃̽̀̃͂̀ͅl̸̨̢̥̭̜̬͎̬̝͕͊̎̇i̸̹̮̲̫̗̻͘ņ̶̛̹̻̜̦̪̩̣̪̏̔̇́̑̔̾̚͝g̷̲͆̆̇́̊͒…
Ok but first! A word from our sponsor!!! My neighbor Kevin! Do you ever find yourself with excess bikes, biking knowledge, and a need to talk about CYCLING SAFETY? Donate a bike! A 2006 fuji aloha 1.0 2x9 speed TT bike if you have one! Marvel at the aero frame tubes, time trial handlebards <8kg total weight, Now back to our regularly scheduled content ~


But in all seriousness, I was super lucky to have a neighbor who was so kind and enthusiastic about cycling to just give a nice bike away to a curious neighbor AND take him on a ride to teach him some road cycling basics and give a thorough safety course. Although truthfully it took close to 10 hrs of drivetrain disassembly and simplegreen to get it this sparkling, this saved me over $1k in aliexpress carbon fiber.
But in the fancy time trial bike lay a secret problem, the time trial handlebars. No way is your 193cm tendons-like-solo-tuned-bass-strings engineer getting down into the time trial position for any sustained length of time. Having the shifters positioned apart from the brakes on the forks makes upshifting for hills or braking during shifting require significant time, which means I fall over or don’t stop in time respectively.
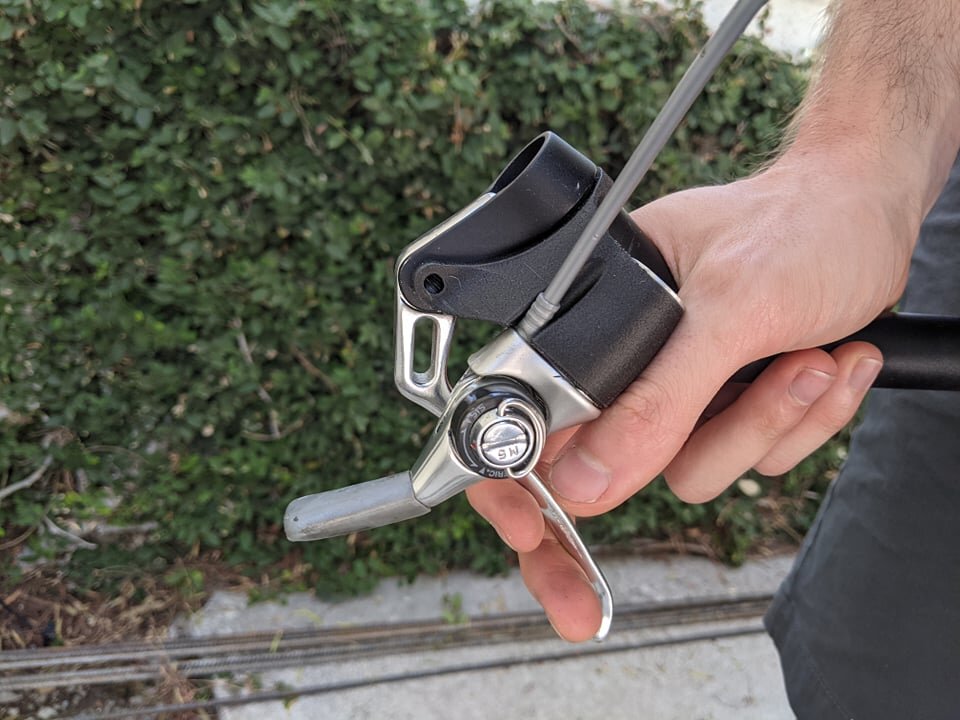
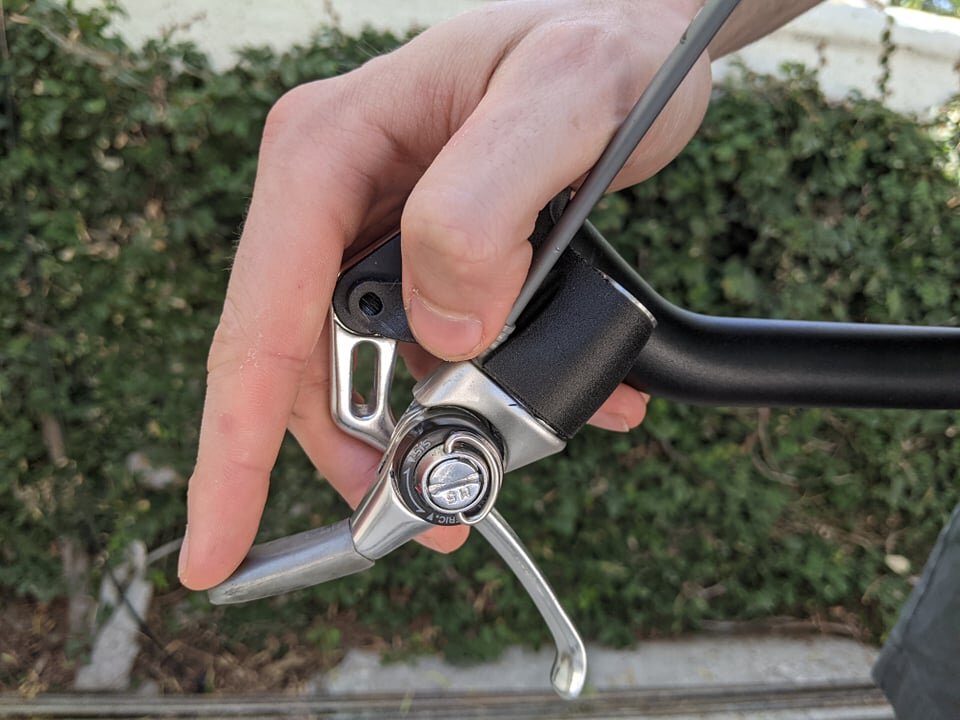
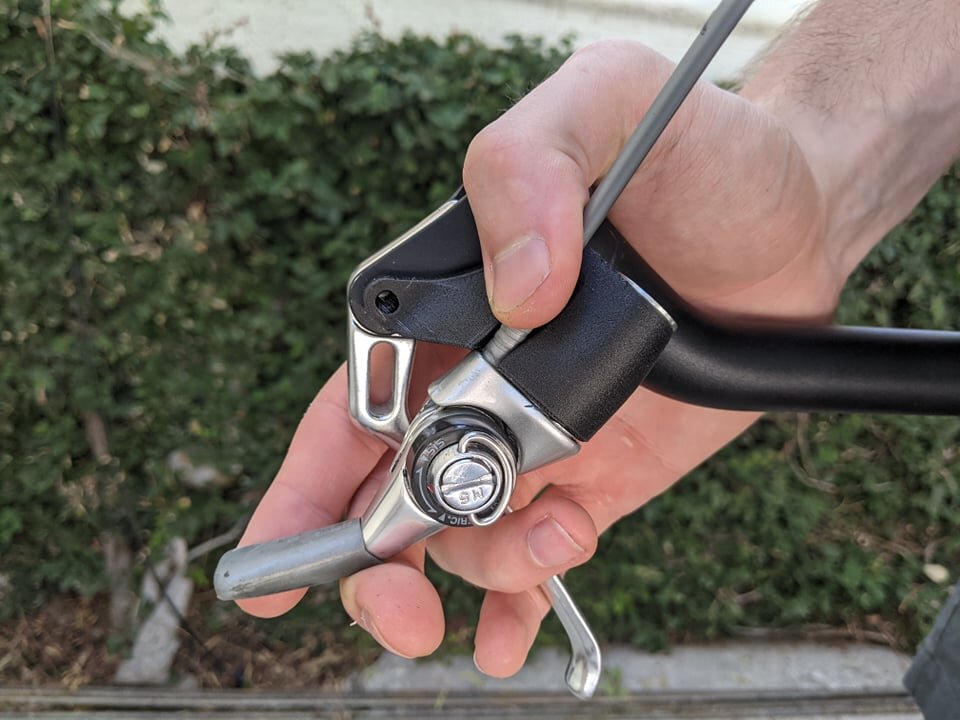
I wanted to design a 3D print that can marry the existing shifter to the existing brake lever and handlebar. It needs to position the parts such that it requires minimal time to move between shifters and brakes, while providing easy mounting and high stiffness. After disassembling the bike and playing around with the positions of the shifter and brake handle I started CADing the components to put in assembly.


At the start I was modeling components very precisely using reference images, but that isn’t very time effective so the reference images went away while the calipers stayed out for the remainder of the assembly.

This configuration of brake and shifter put the hand in a comfortable position in testing.

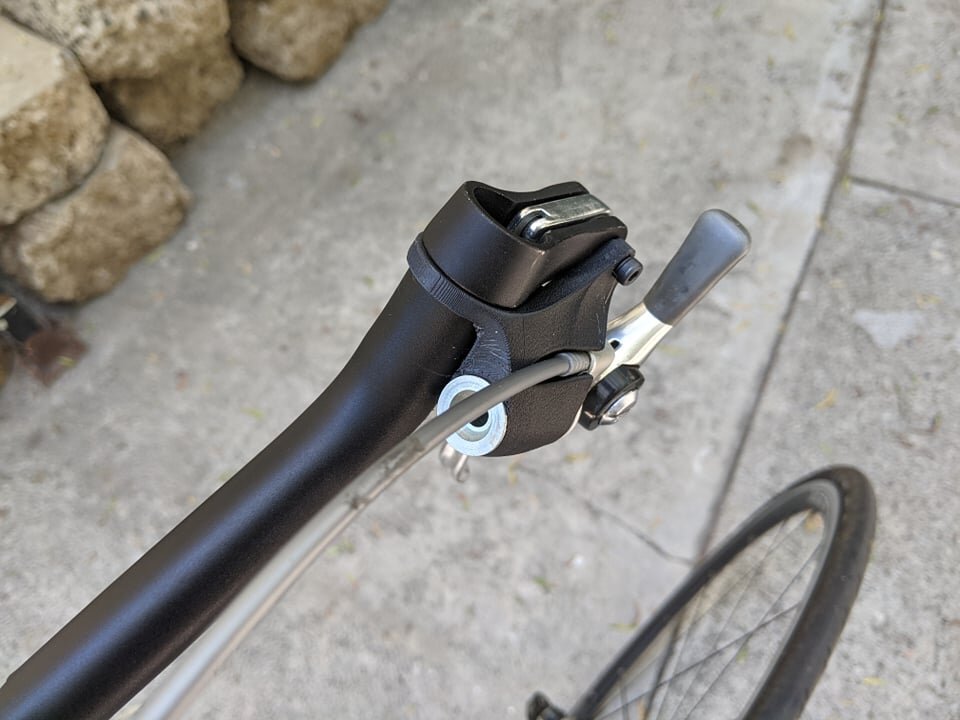
A very basic 3D print that prints that holds the parts in the correct orientation. An important detail is the secondary mounting point where an m4 bolt hijacks the brake handle pivot joint’s original shoulder bolt.

A small revision change after initial install fixed support material, a hole clearance, and added slots so that the part could be mounted without rerouting the brake and shifter cables. (damaged original part on right, fixed on left). It’s important to get all the features down pat before locking yourself in with excessive surface modeling.
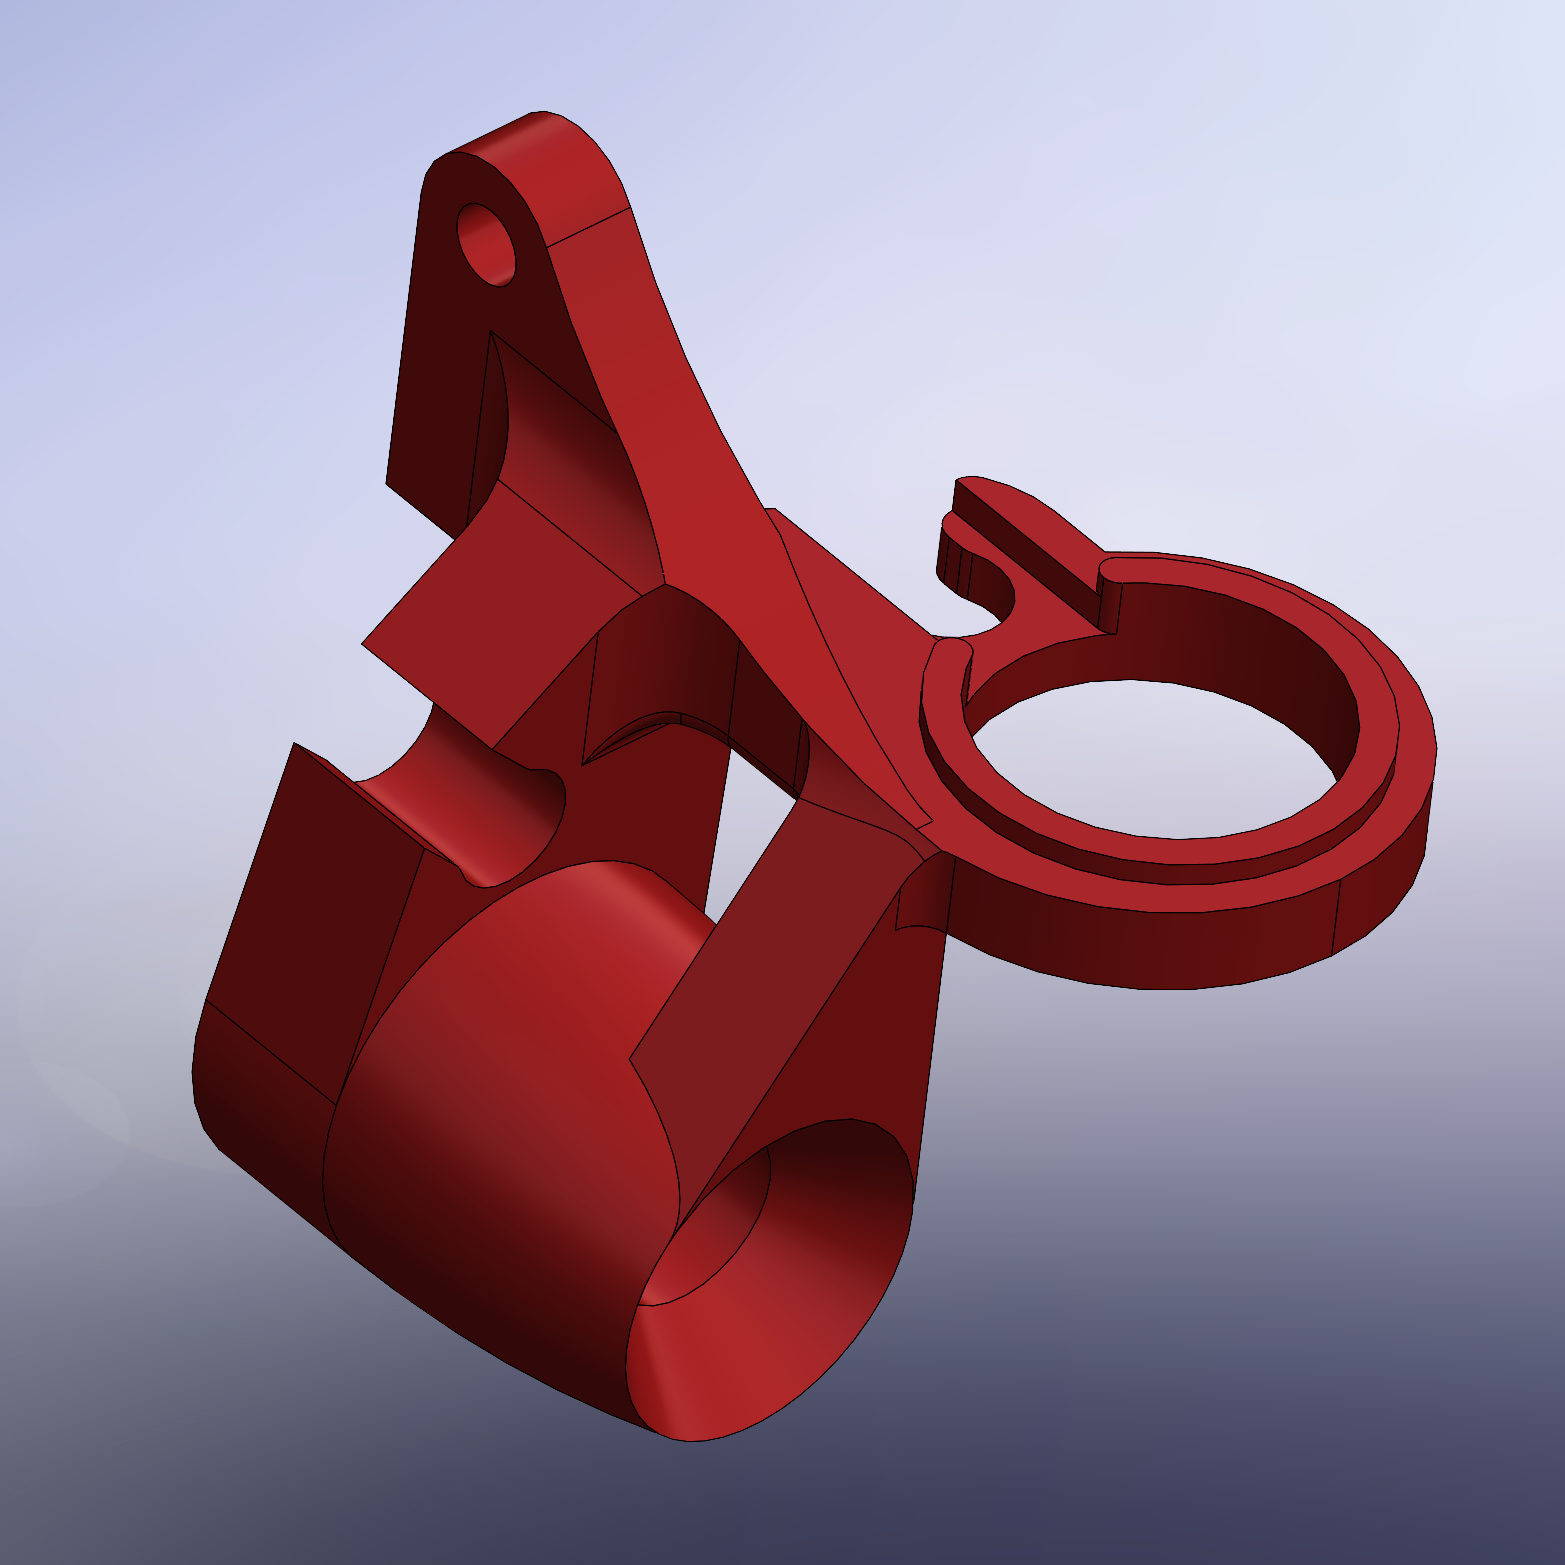


The initial model had all the right mating geometry but was weak and didn’t utilize space well.
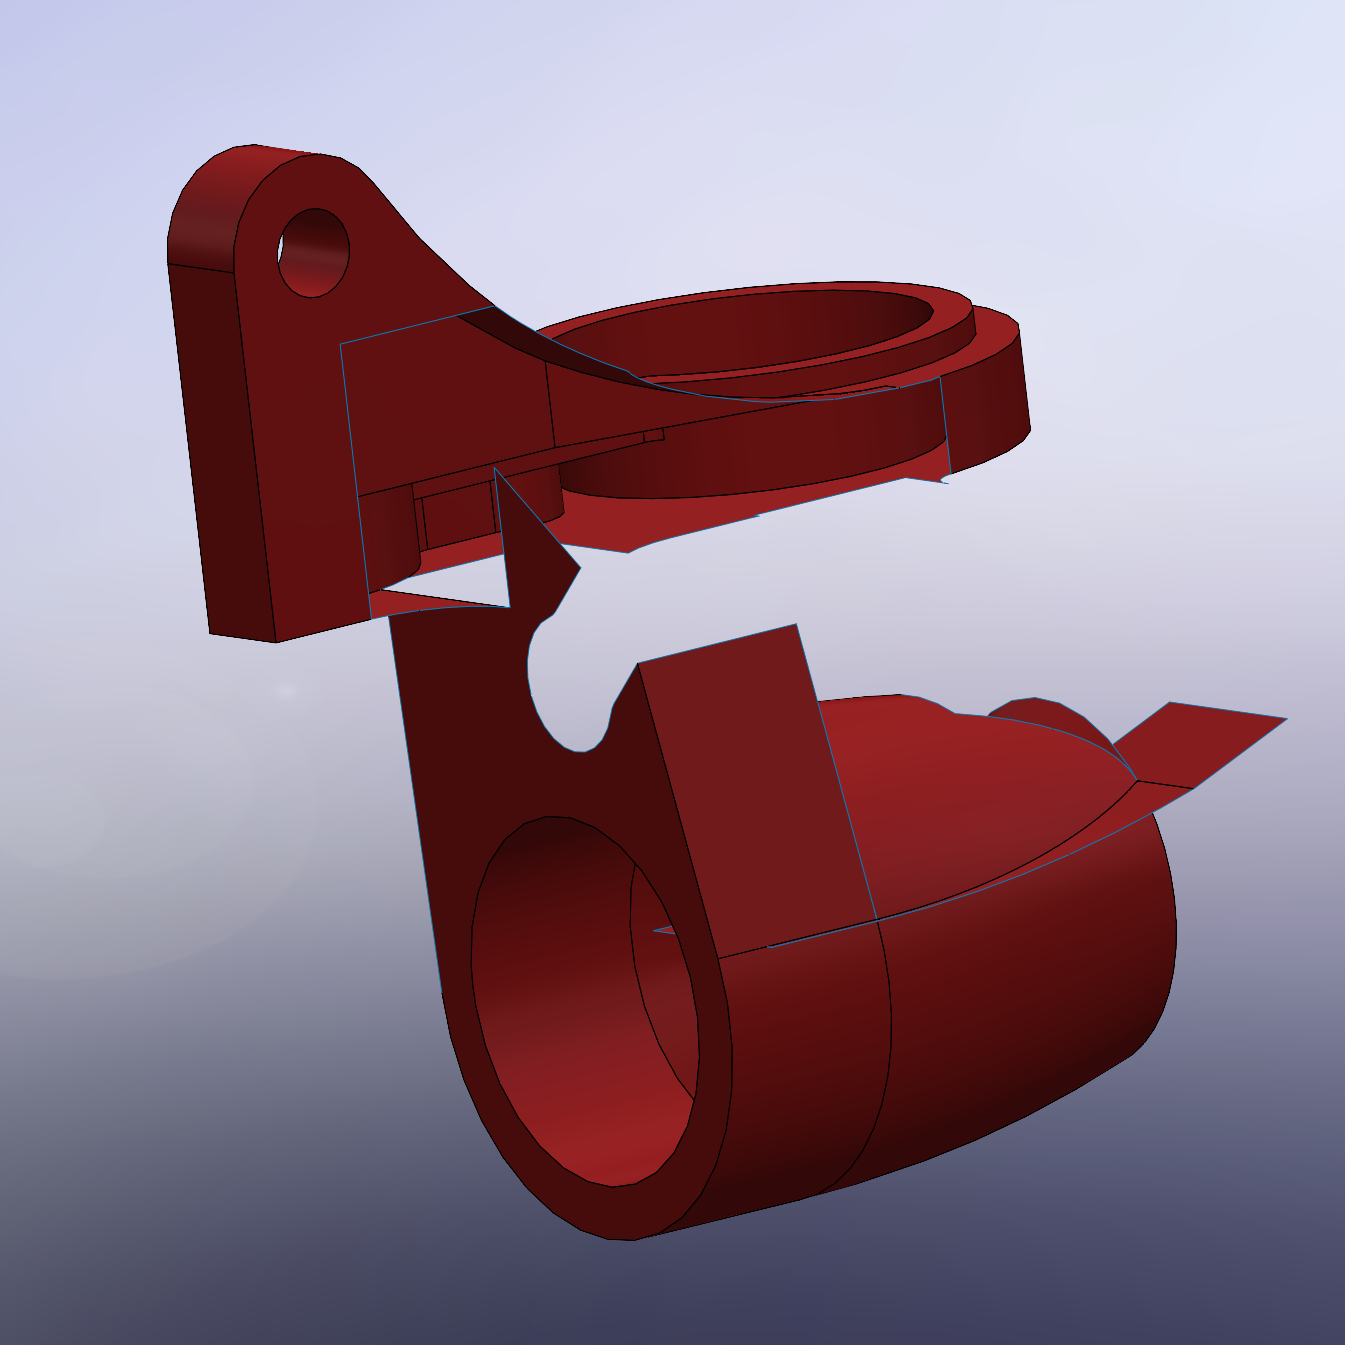
All irrelevant faces are deleted and the remaining surfaces are split into usable chunks
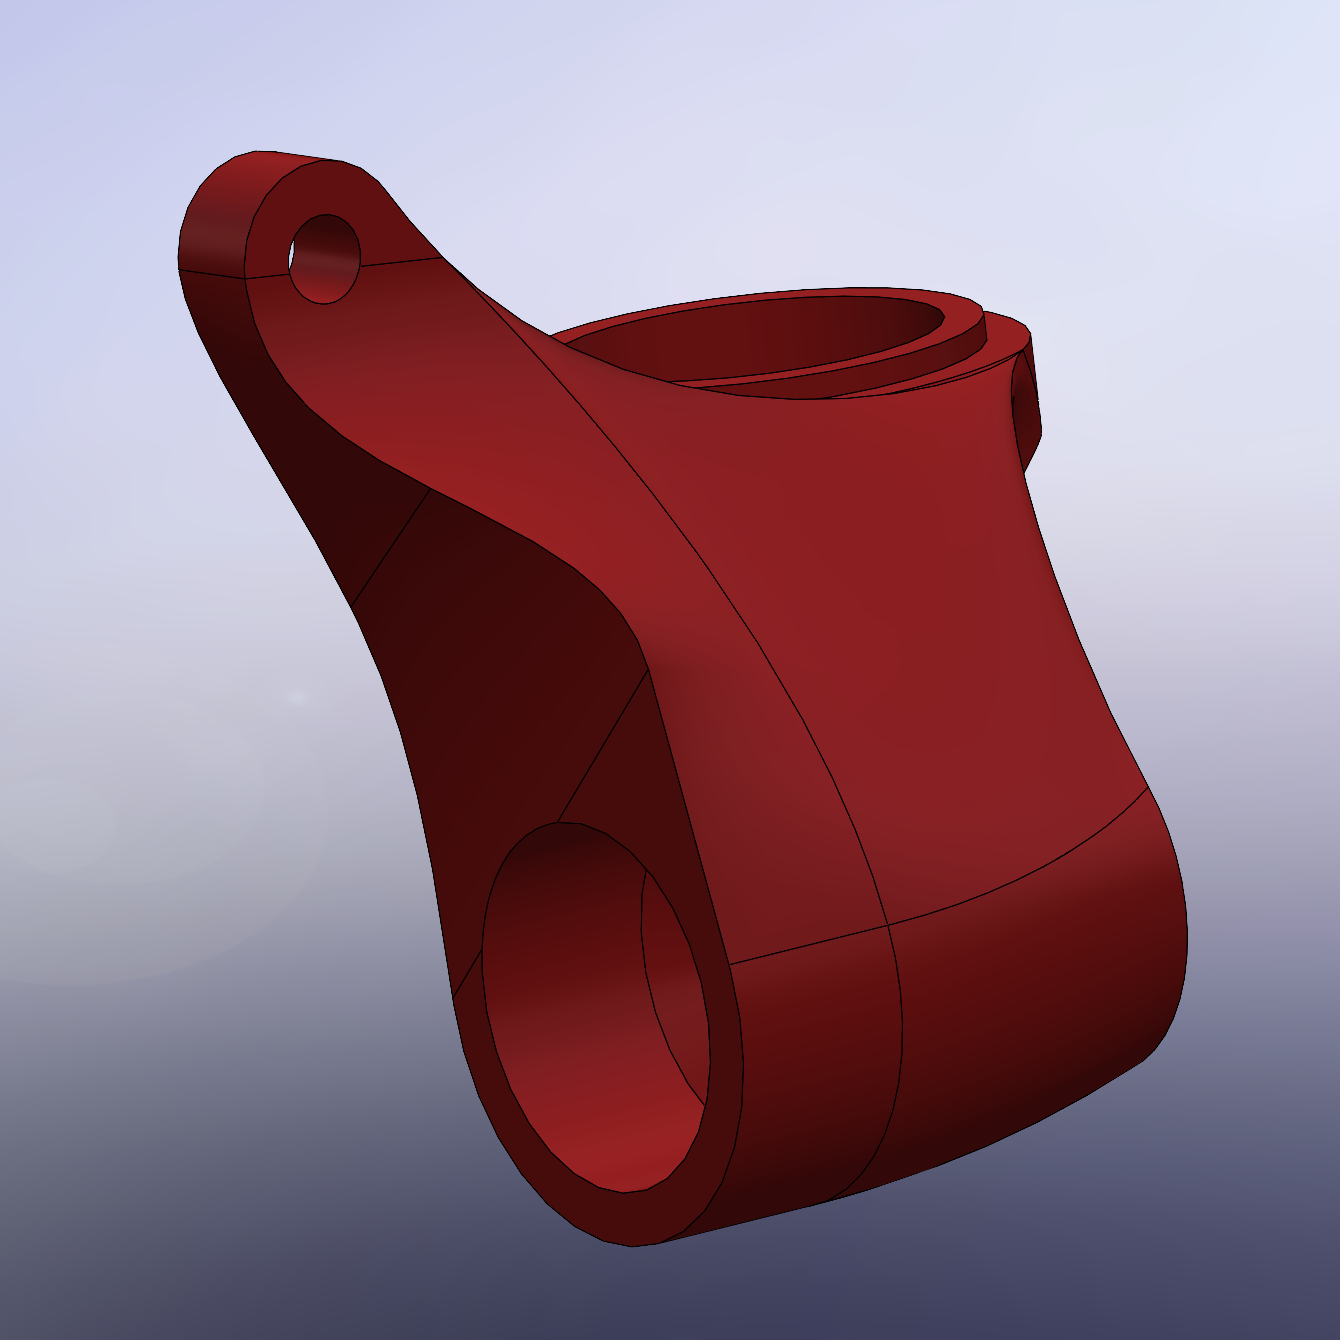
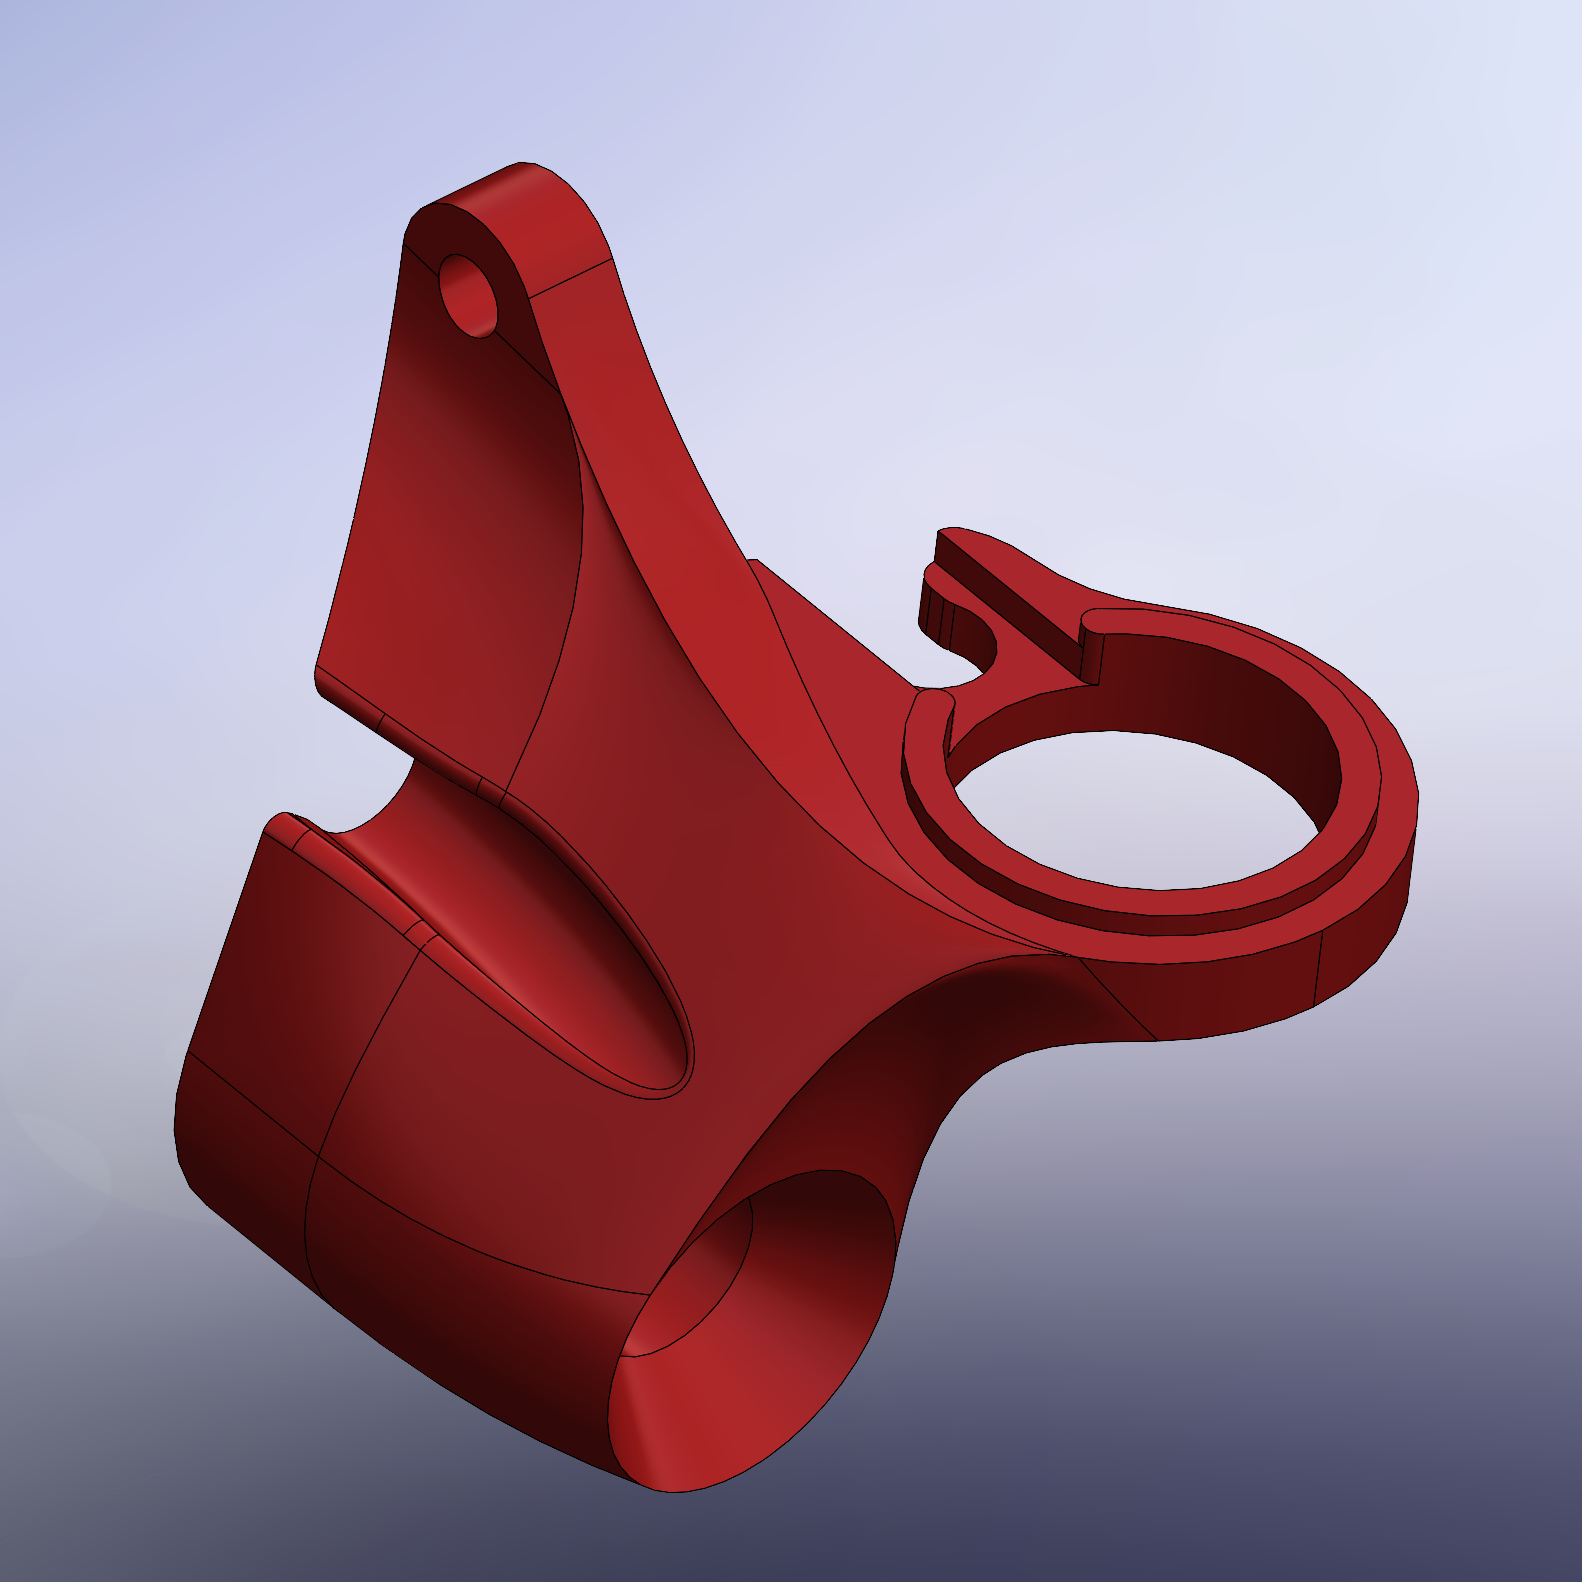
Resurfacing the model with boundary curves defined by 3D splines allows an aesthetically pleasing, strong shape with few stress concentrators.

Some mechanical features had to be reintroduced to the model after surfacing was complete and the model was solidified.
Also for the final part I got some chopped carbon fiber PLA and a hardened steel nozzle for my printer with the idea of creating a stiffer and more professional looking part. The CF-PLA turns out to be marginally stiffer at the cost of being significantly more brittle, so I’ll hopefully replace it with some proper chopped-fiber-nylon in the future to make it really last.
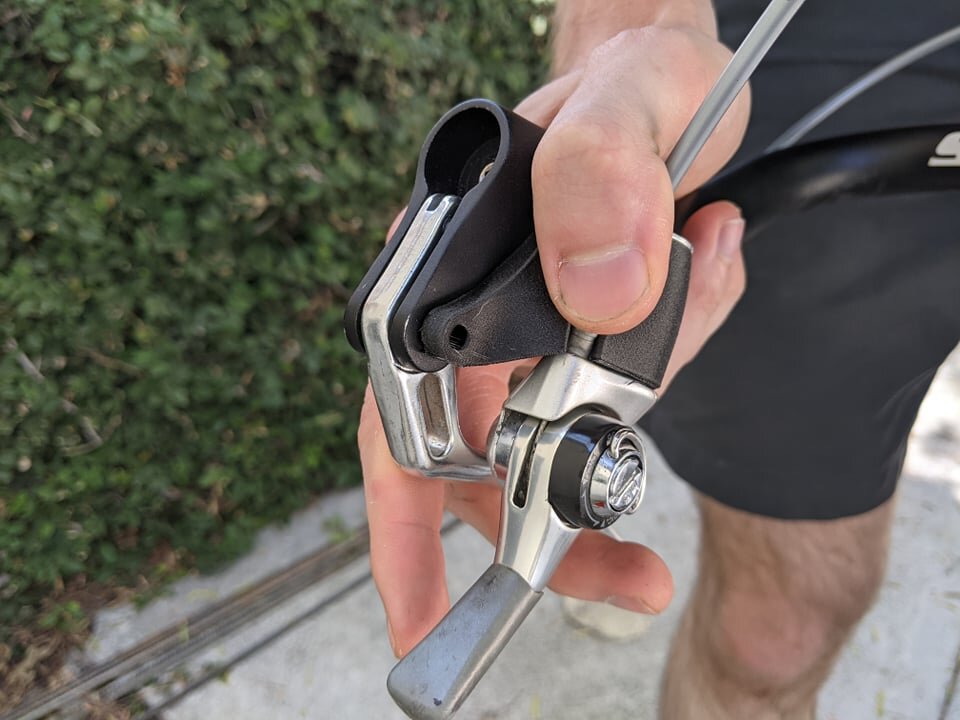
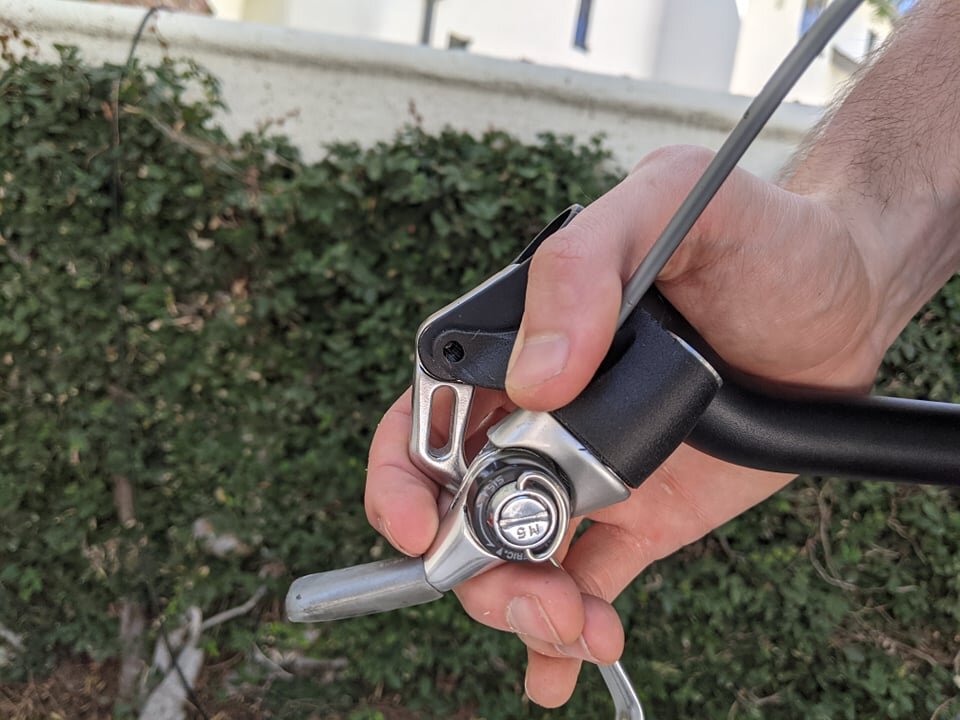
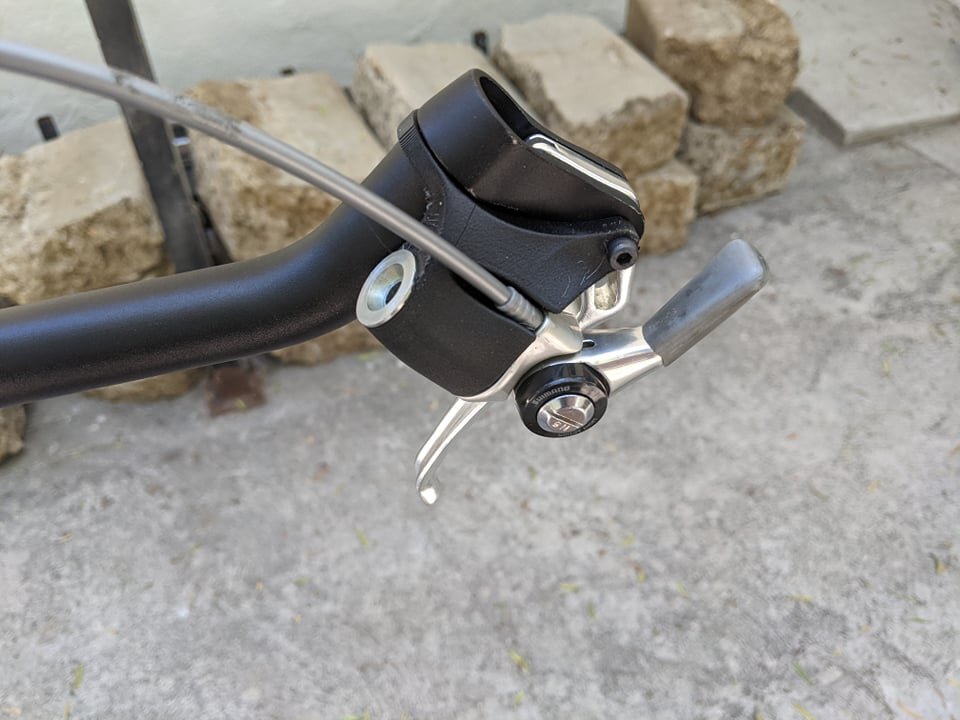
And here’s the final part installed on the bike! A few of the images showcase the different hand positions for upshifting and downshifting, while some others show the raw printed part finish. I’m really happy with how thoroughly overkill it is for such a simple job and can definitely see doing more bike modifications in the future!