Hydration Alarm
I’ve never been a morning person, but lately I’ve been wanting to improve my sleep schedule consistency. Getting a crack-of-dawn workout in feels great, but is difficult to be consistent about (for me at least). Since I typically don’t use more than 50mg of caffiene a day, getting some early morning tea / caffiene to get me working out should be easy.
Concept Design
I wanted to make a prototype-y doodad that:
Is nearly impossible to turn off without waking
Provides easy caffeine
Is impossible to snooze
Is small enough to move with / keep on a desk or sidetable
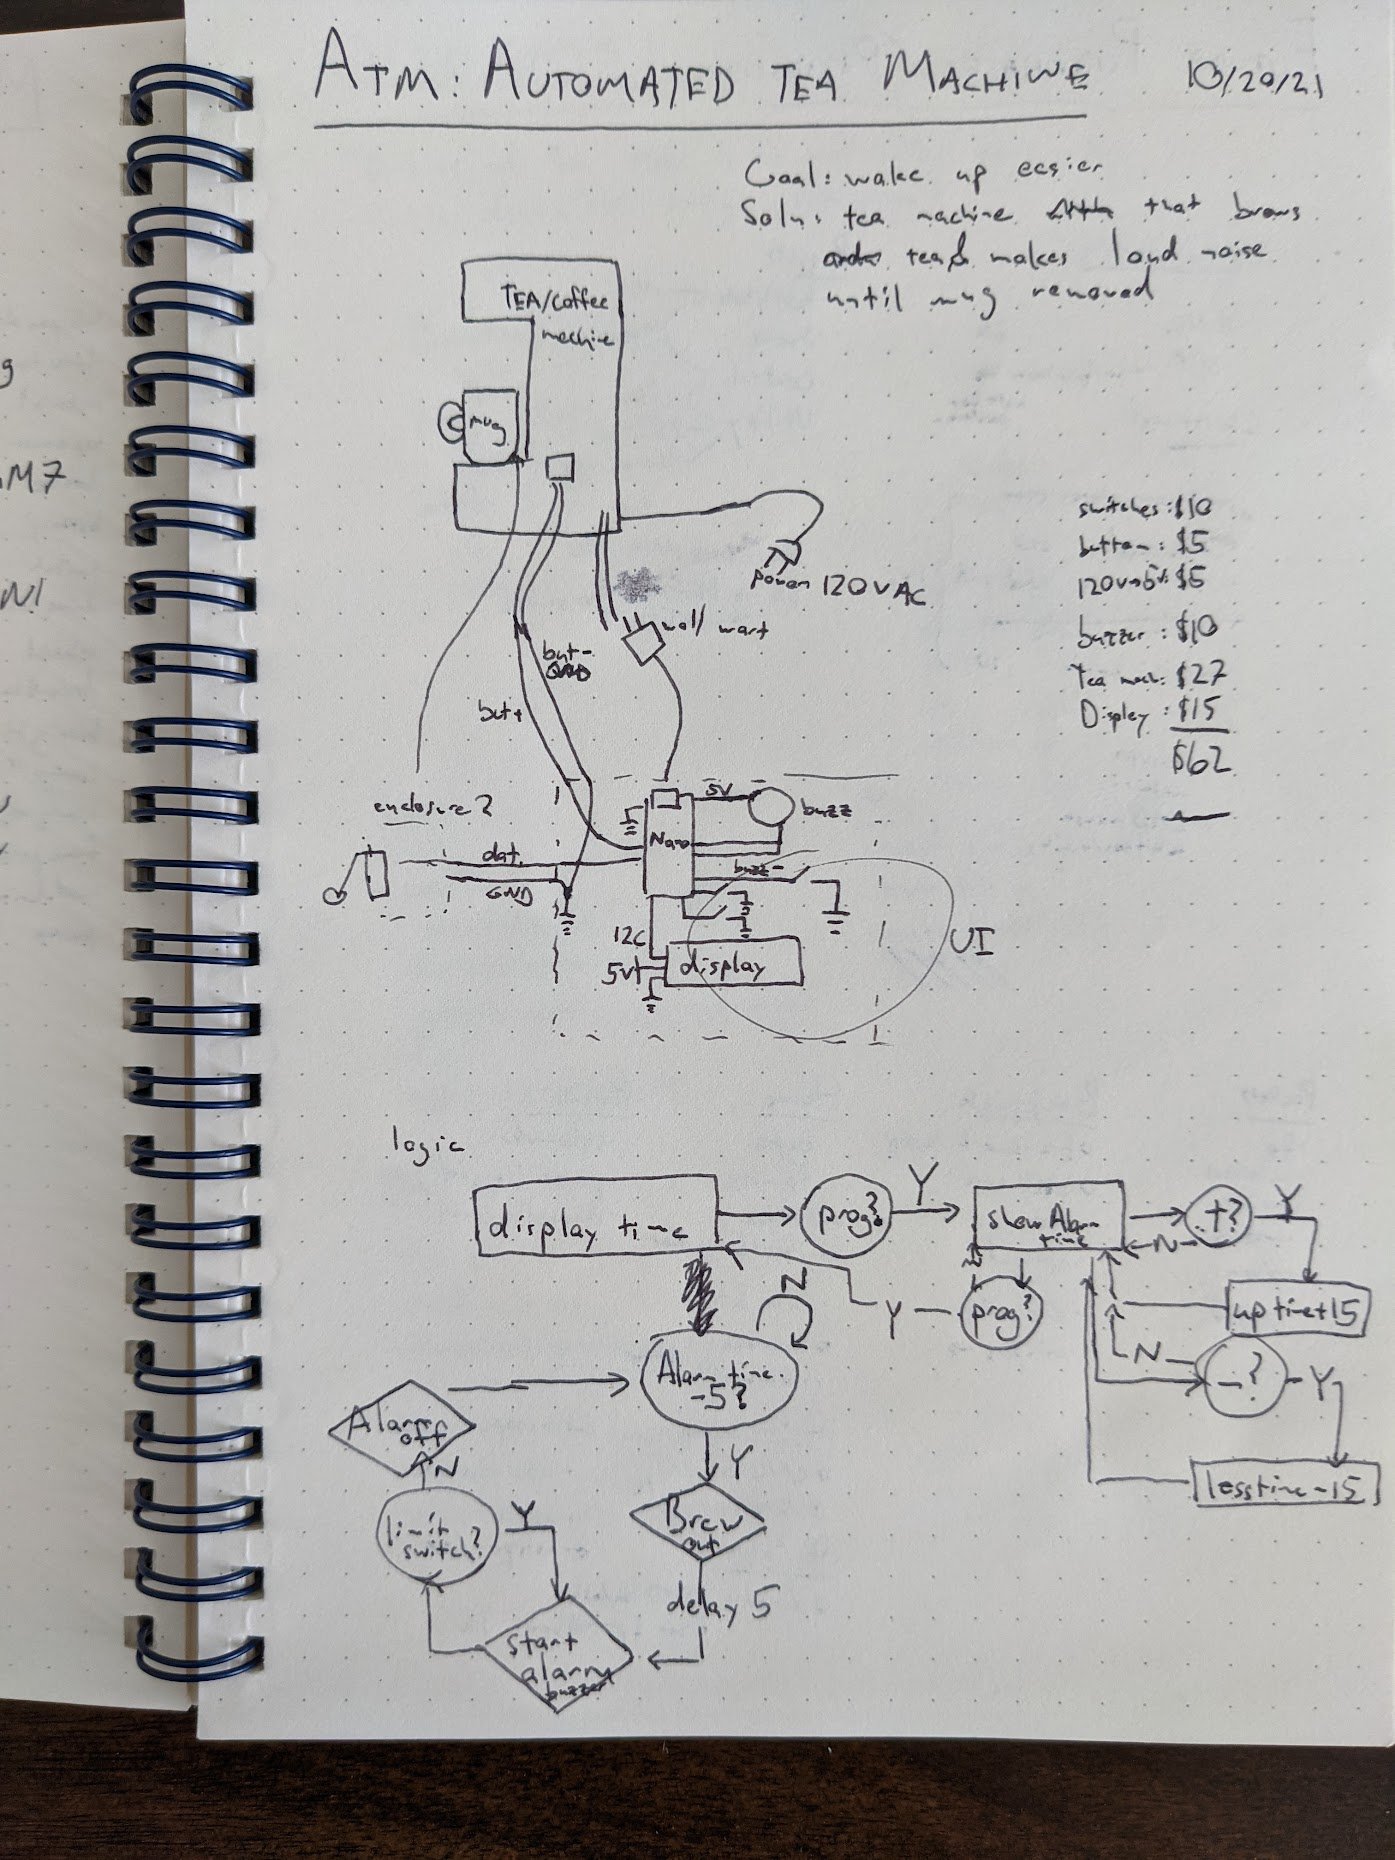
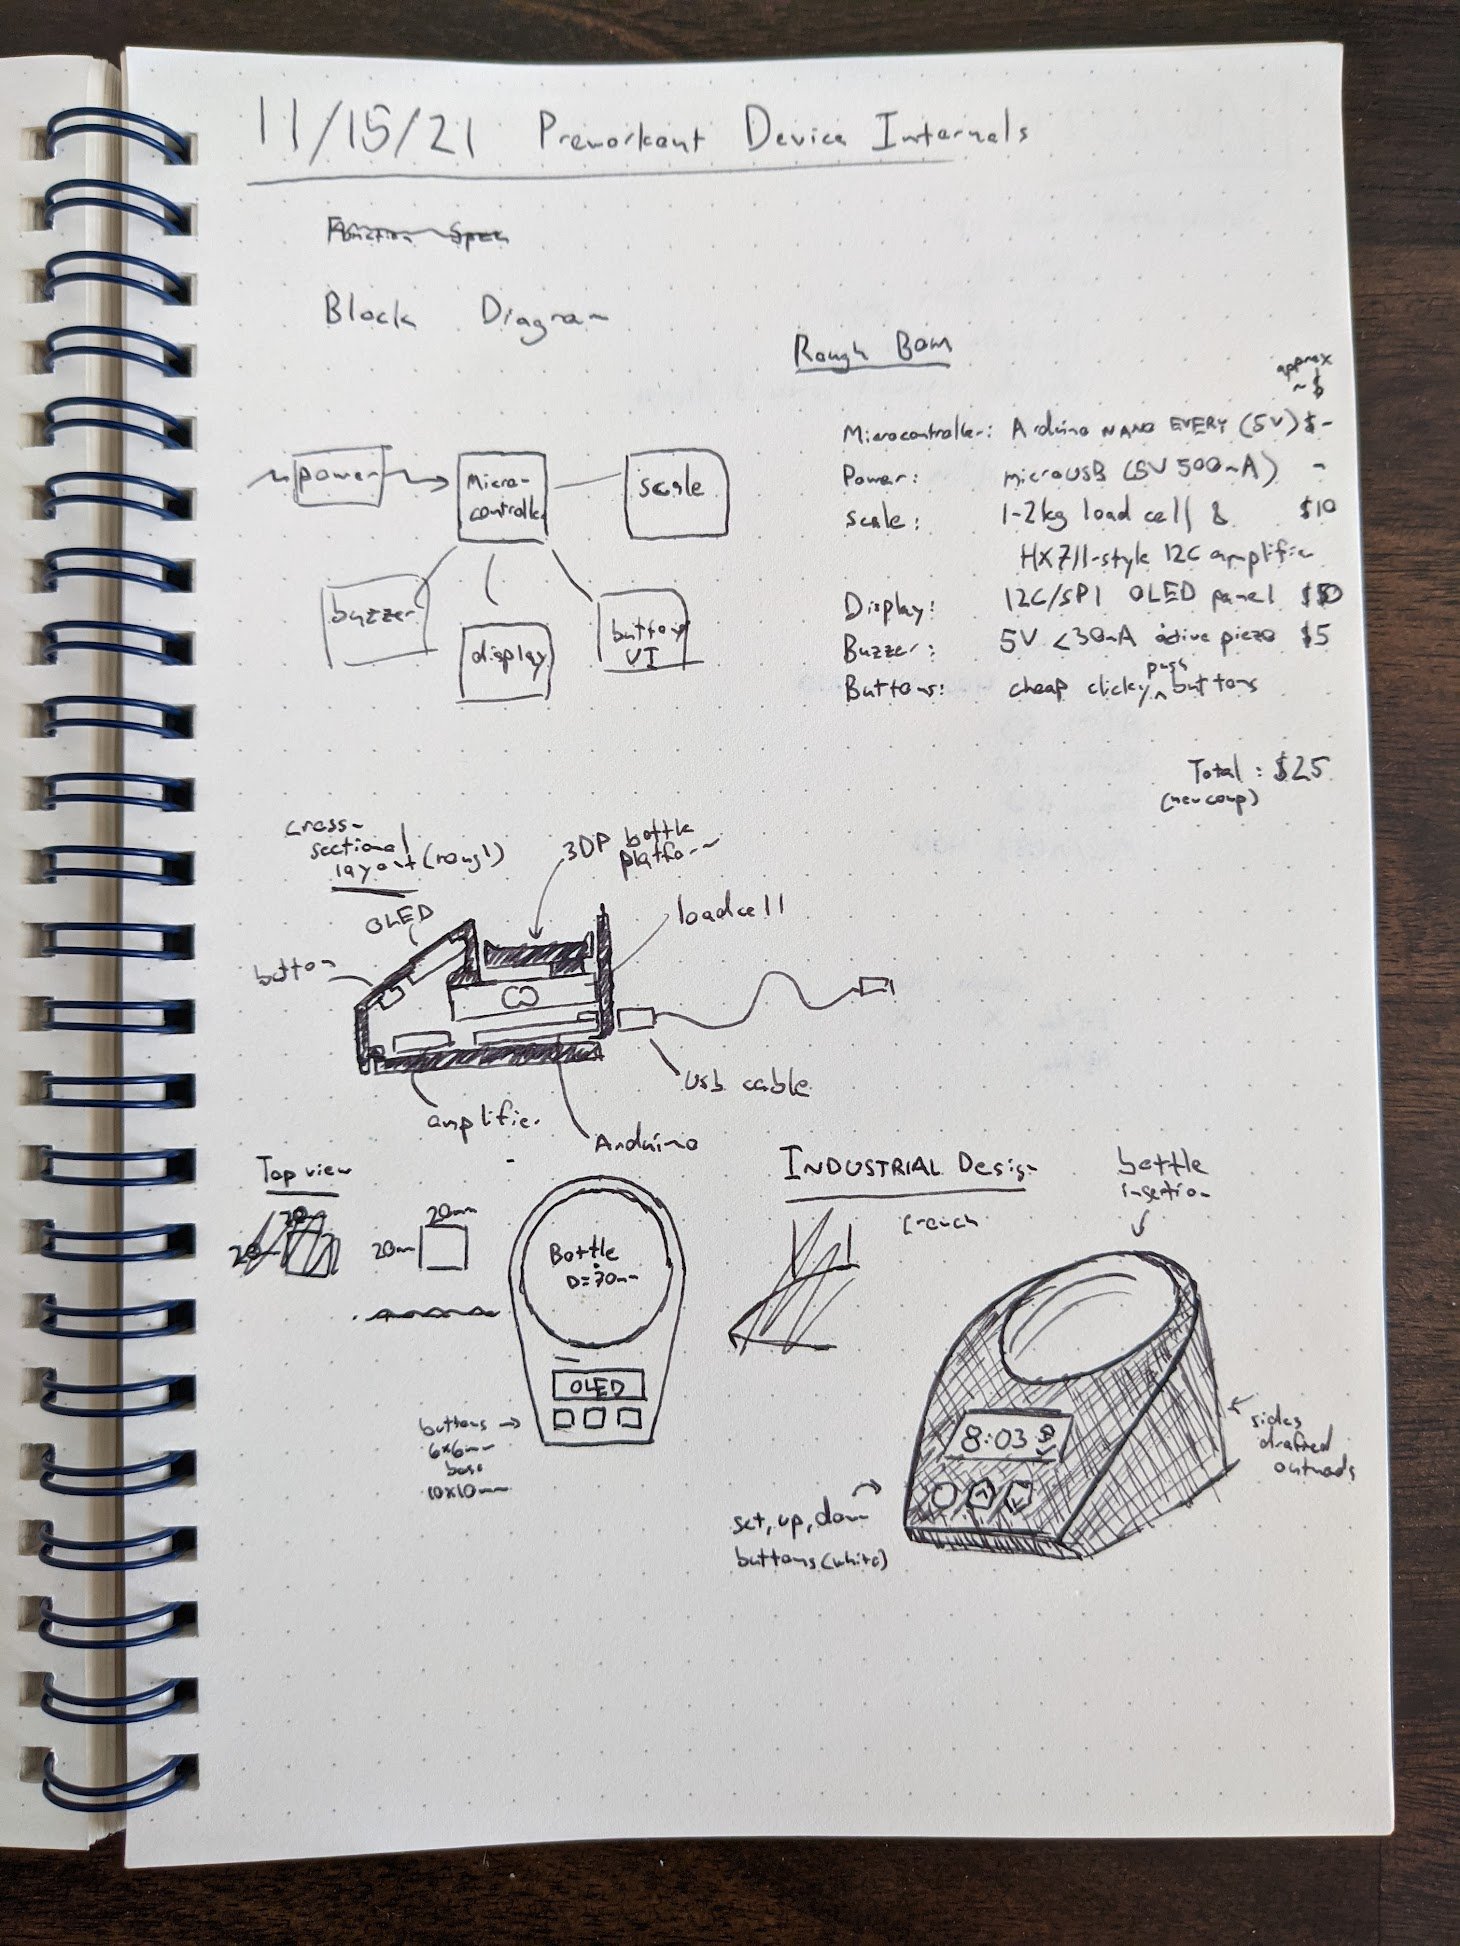
One morning after having a terrible night’s sleep & missing my morning workout, I rolled out of bed and immediately sketched out the ‘automated tea machine’ concept seen in the first attached sketch page. The concept was a hacked single serving tea machine which would brew tea and make loads of noise at a preset time, only turning off after I picked up the mug (and therefore started drinking the tea)
The idea ended up on the backburner for a bit due a general lack of elegance & a few issues:
I don’t want to own & move with a tea machine
Multiple 3D-printed electronics-enclosure ‘tumors’ on top of an existing object seems inelegant
It would take up a lot of desk space and be difficult to move with (15x30x30cm rough footprint & wall power cord)
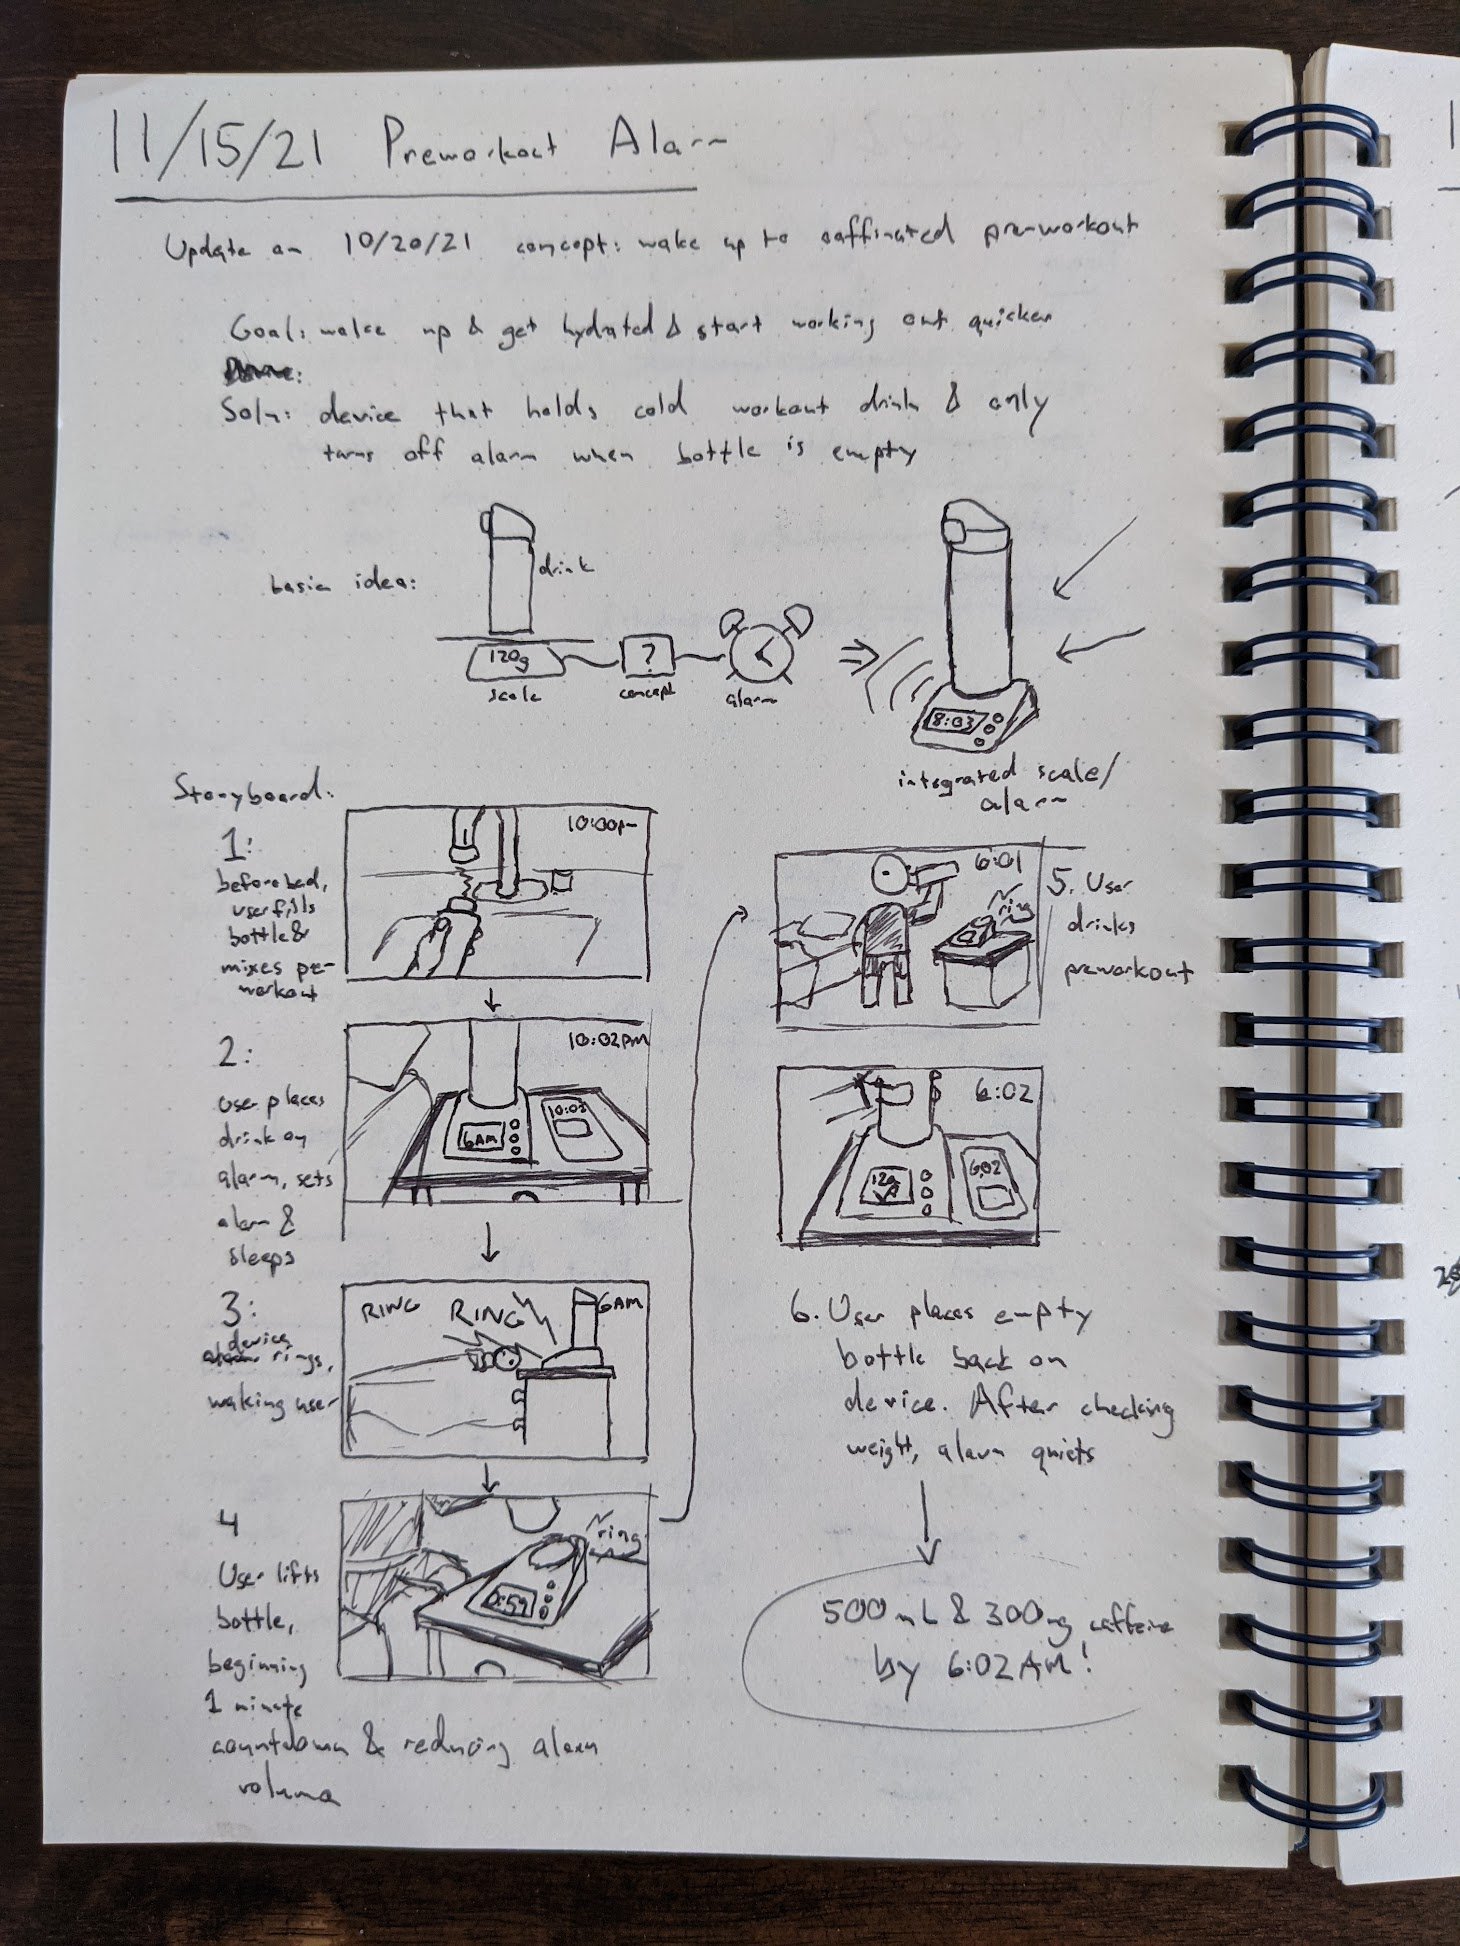
However a few weeks later I started using a caffeinated pre-workout, which totally revitalized this project. Instead of having to buy a tea machine, I just needed to put a scoop of powder into one of my insulated water bottles to keep it chilled for the night. With 2 pages of sketches and a few minutes of Amazon searching the project was back!
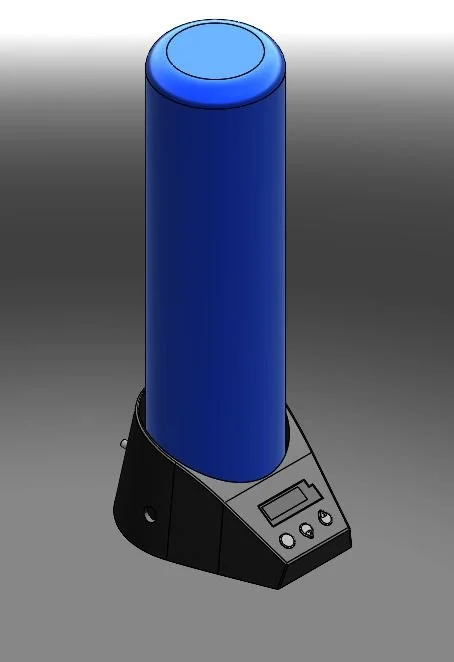
Overall view of the device: screen, button, buzzer and water bottle visible
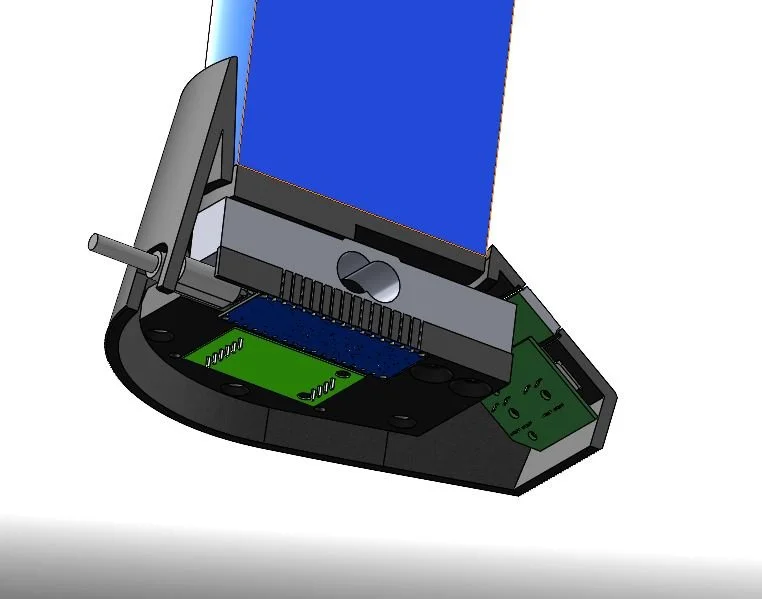
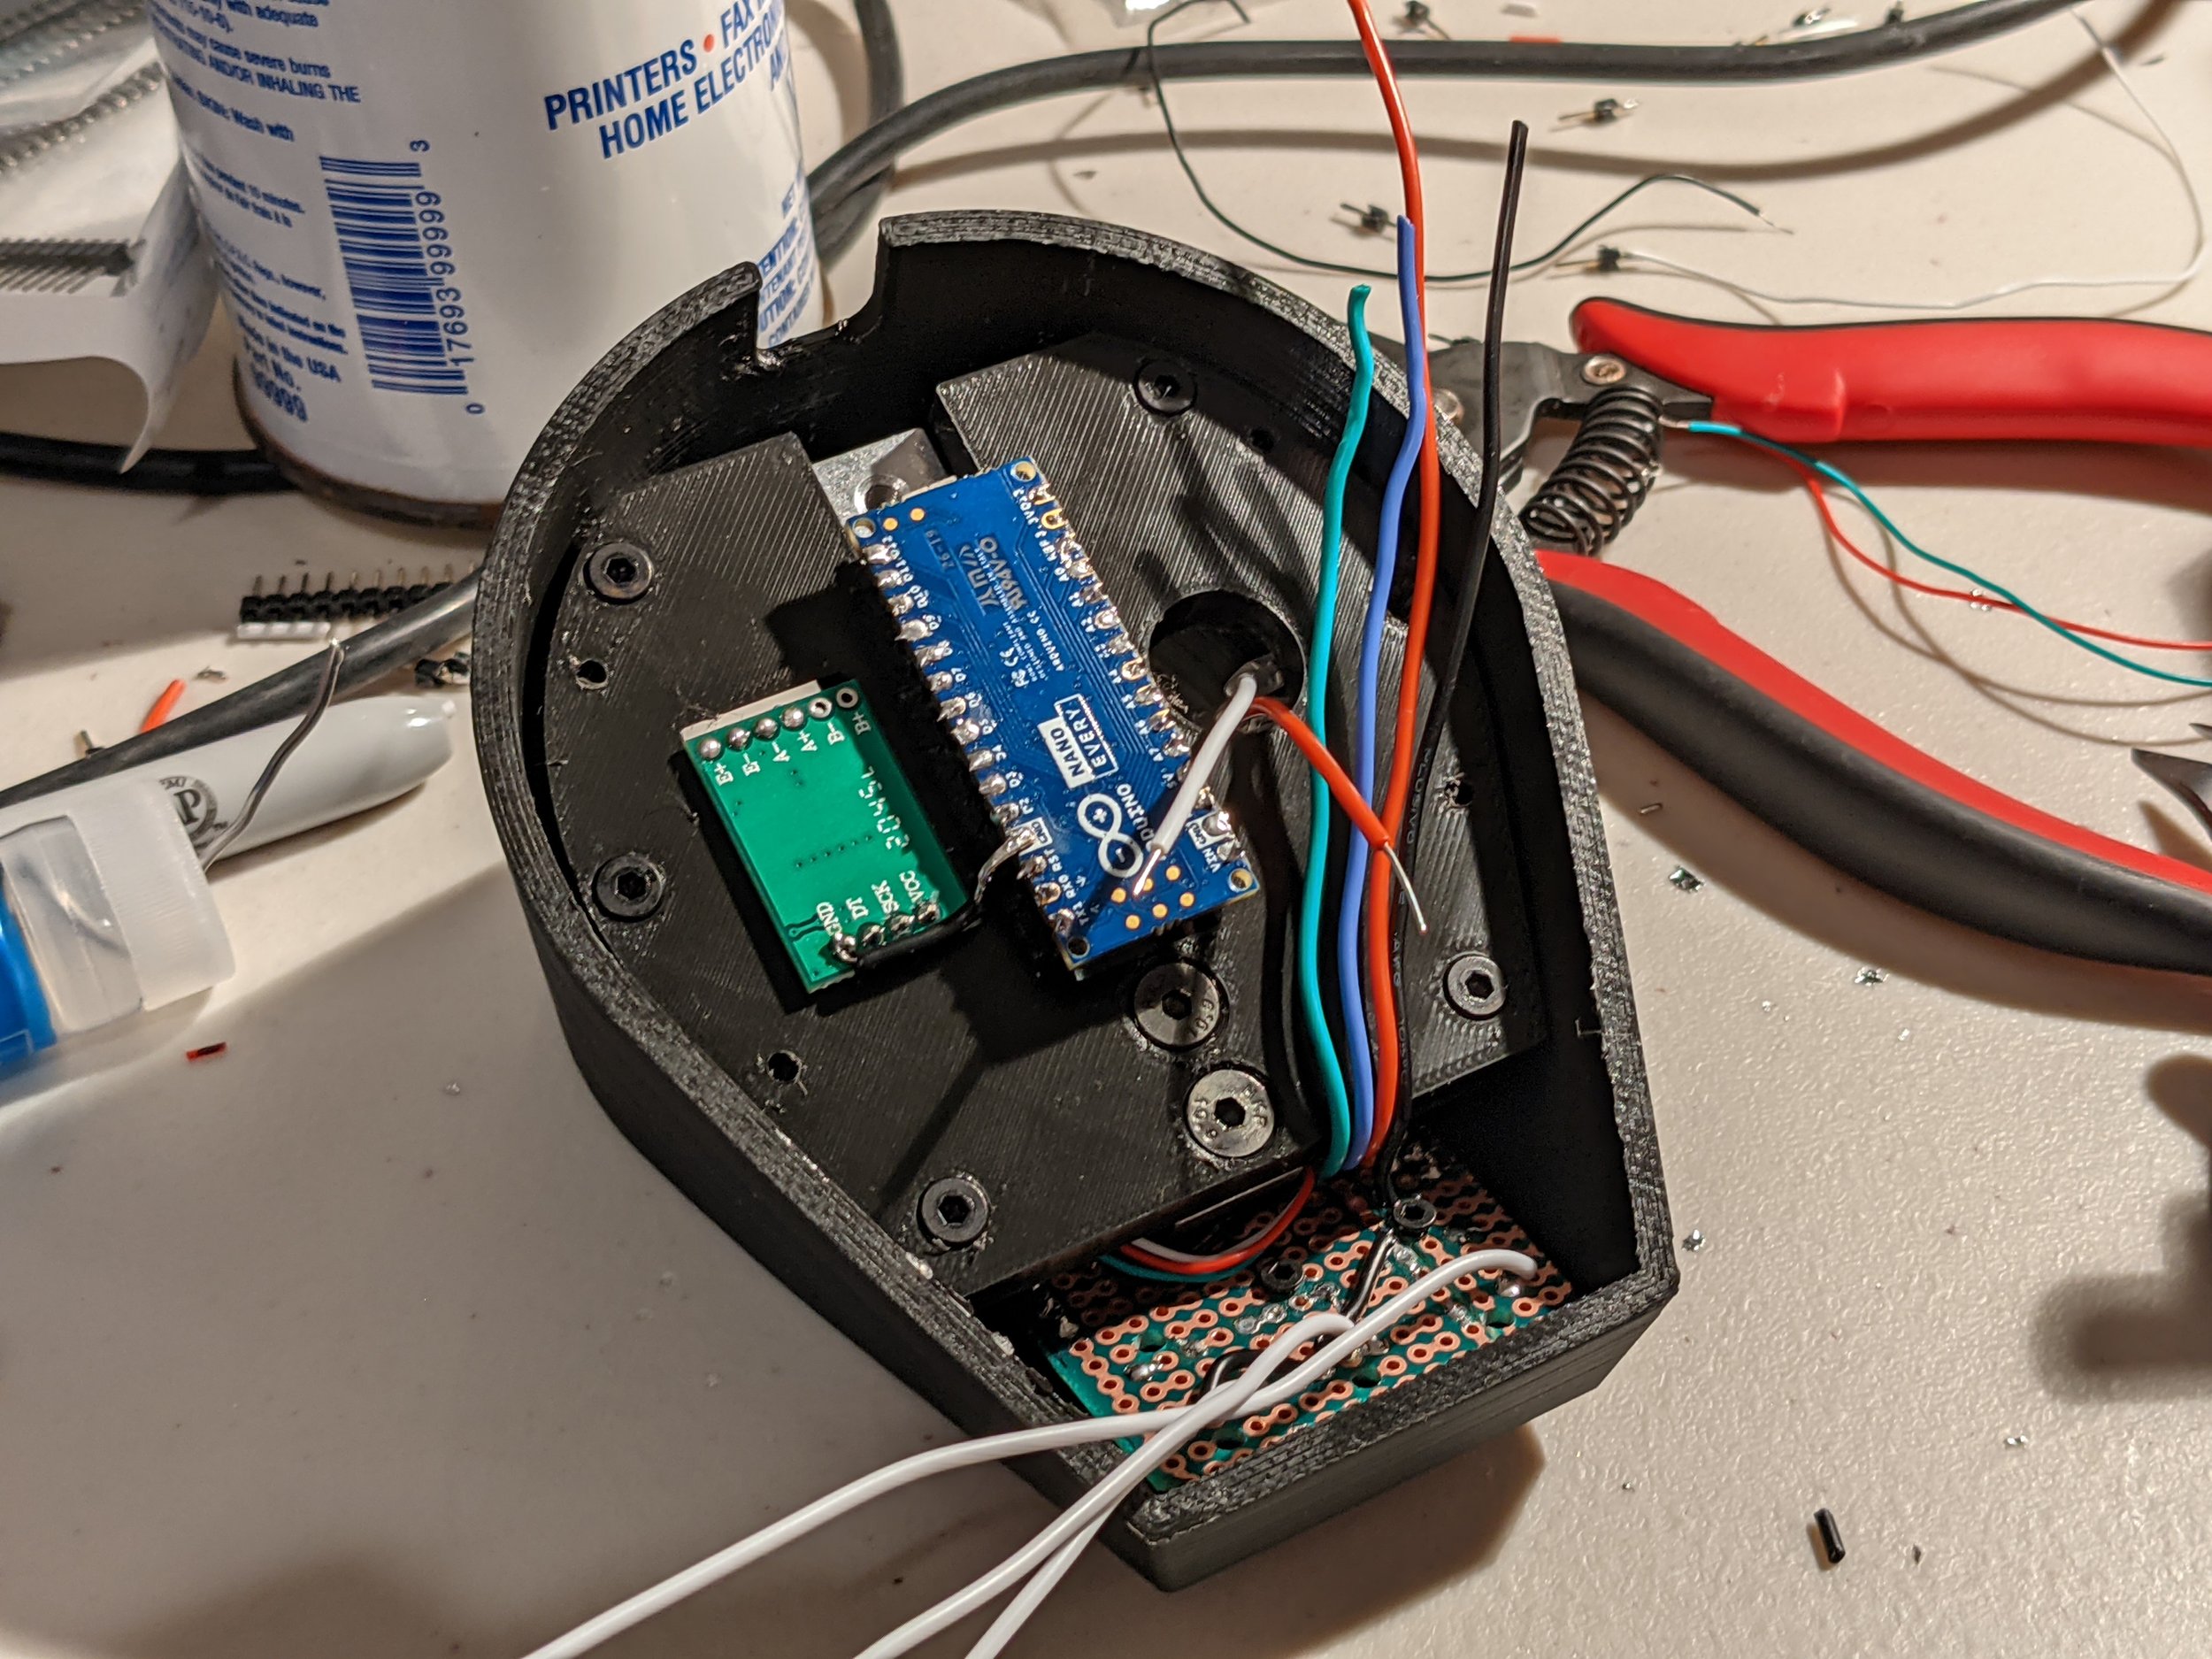
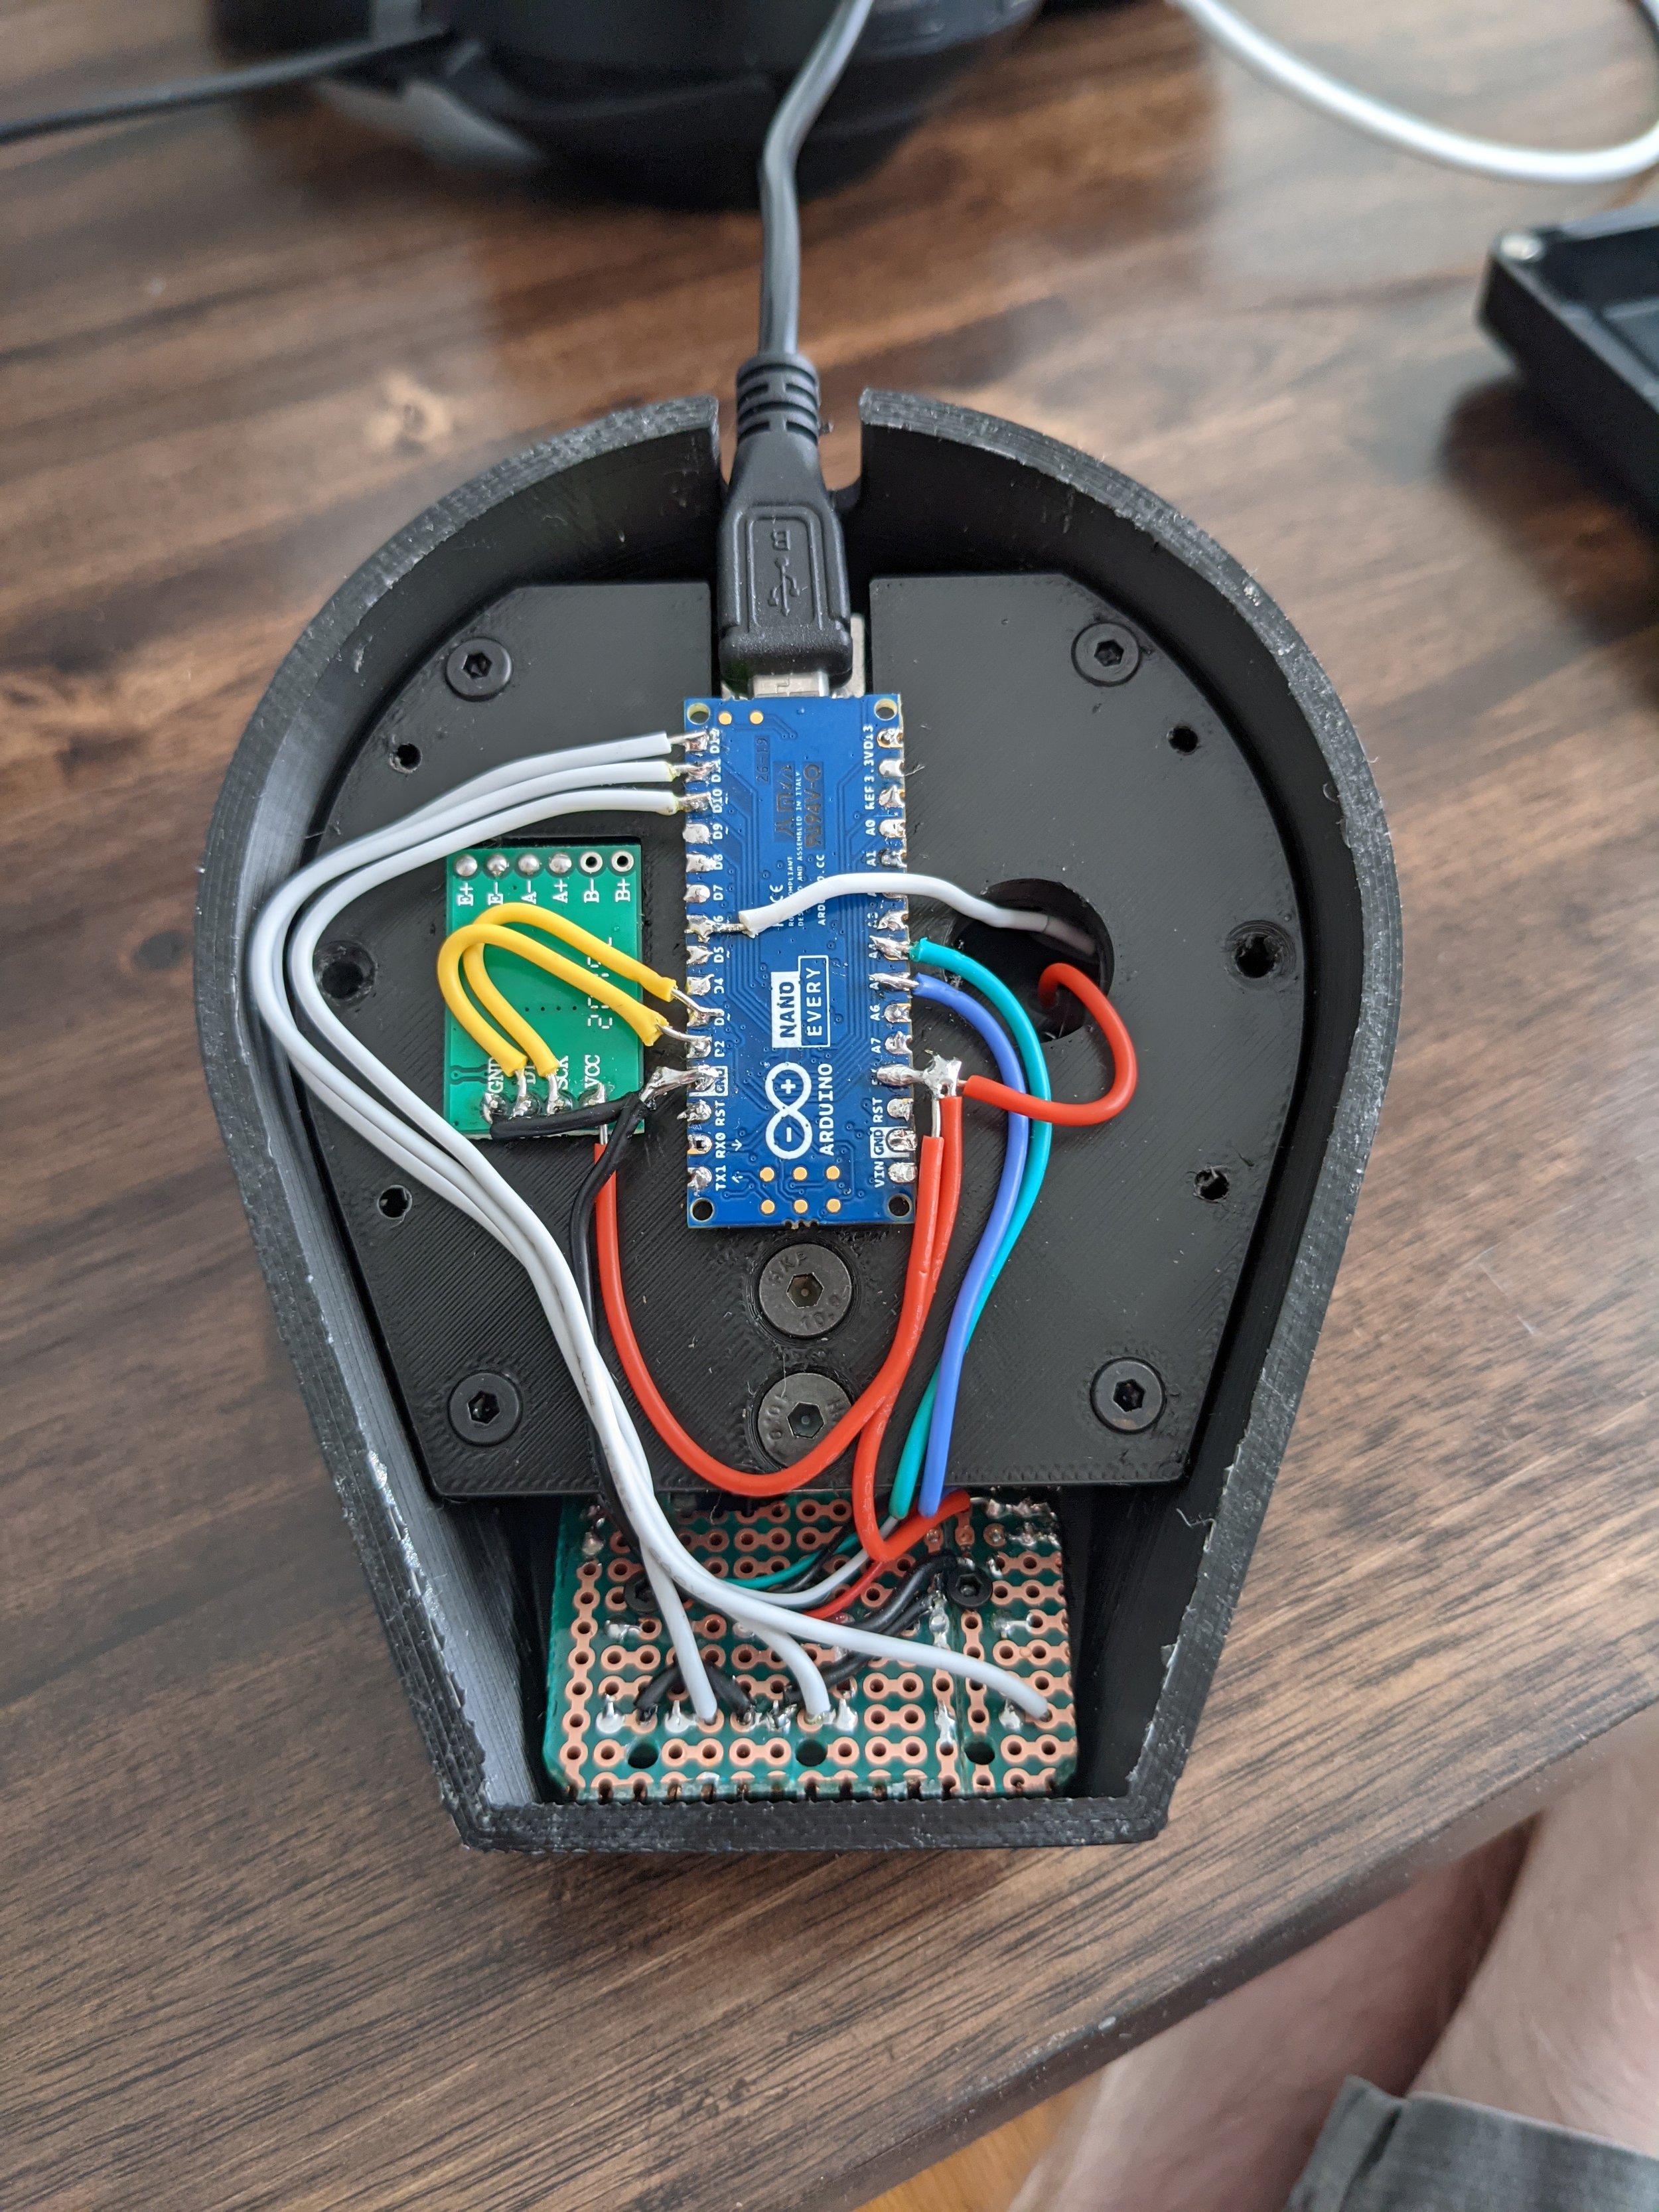
Cross section view showing the location of the load cell (silver), arduino (blue), USB cable, amplifier PCB (light green), and perfboard backplane for buttons (dark green)
CAD
The device only needed a few major components: a microcontroller, a small display, a few buttons, a buzzer, and a cheap load cell.
All of the components (besides the buzzer and load cell) had free models on GrabCAD, but almost all had to have their dimensions modified based on actual measurements. CAD was rather quick overall, but I’m not super satisfied with how some of the features needed to be supported on the outside shell.
Component Testing & Assembly
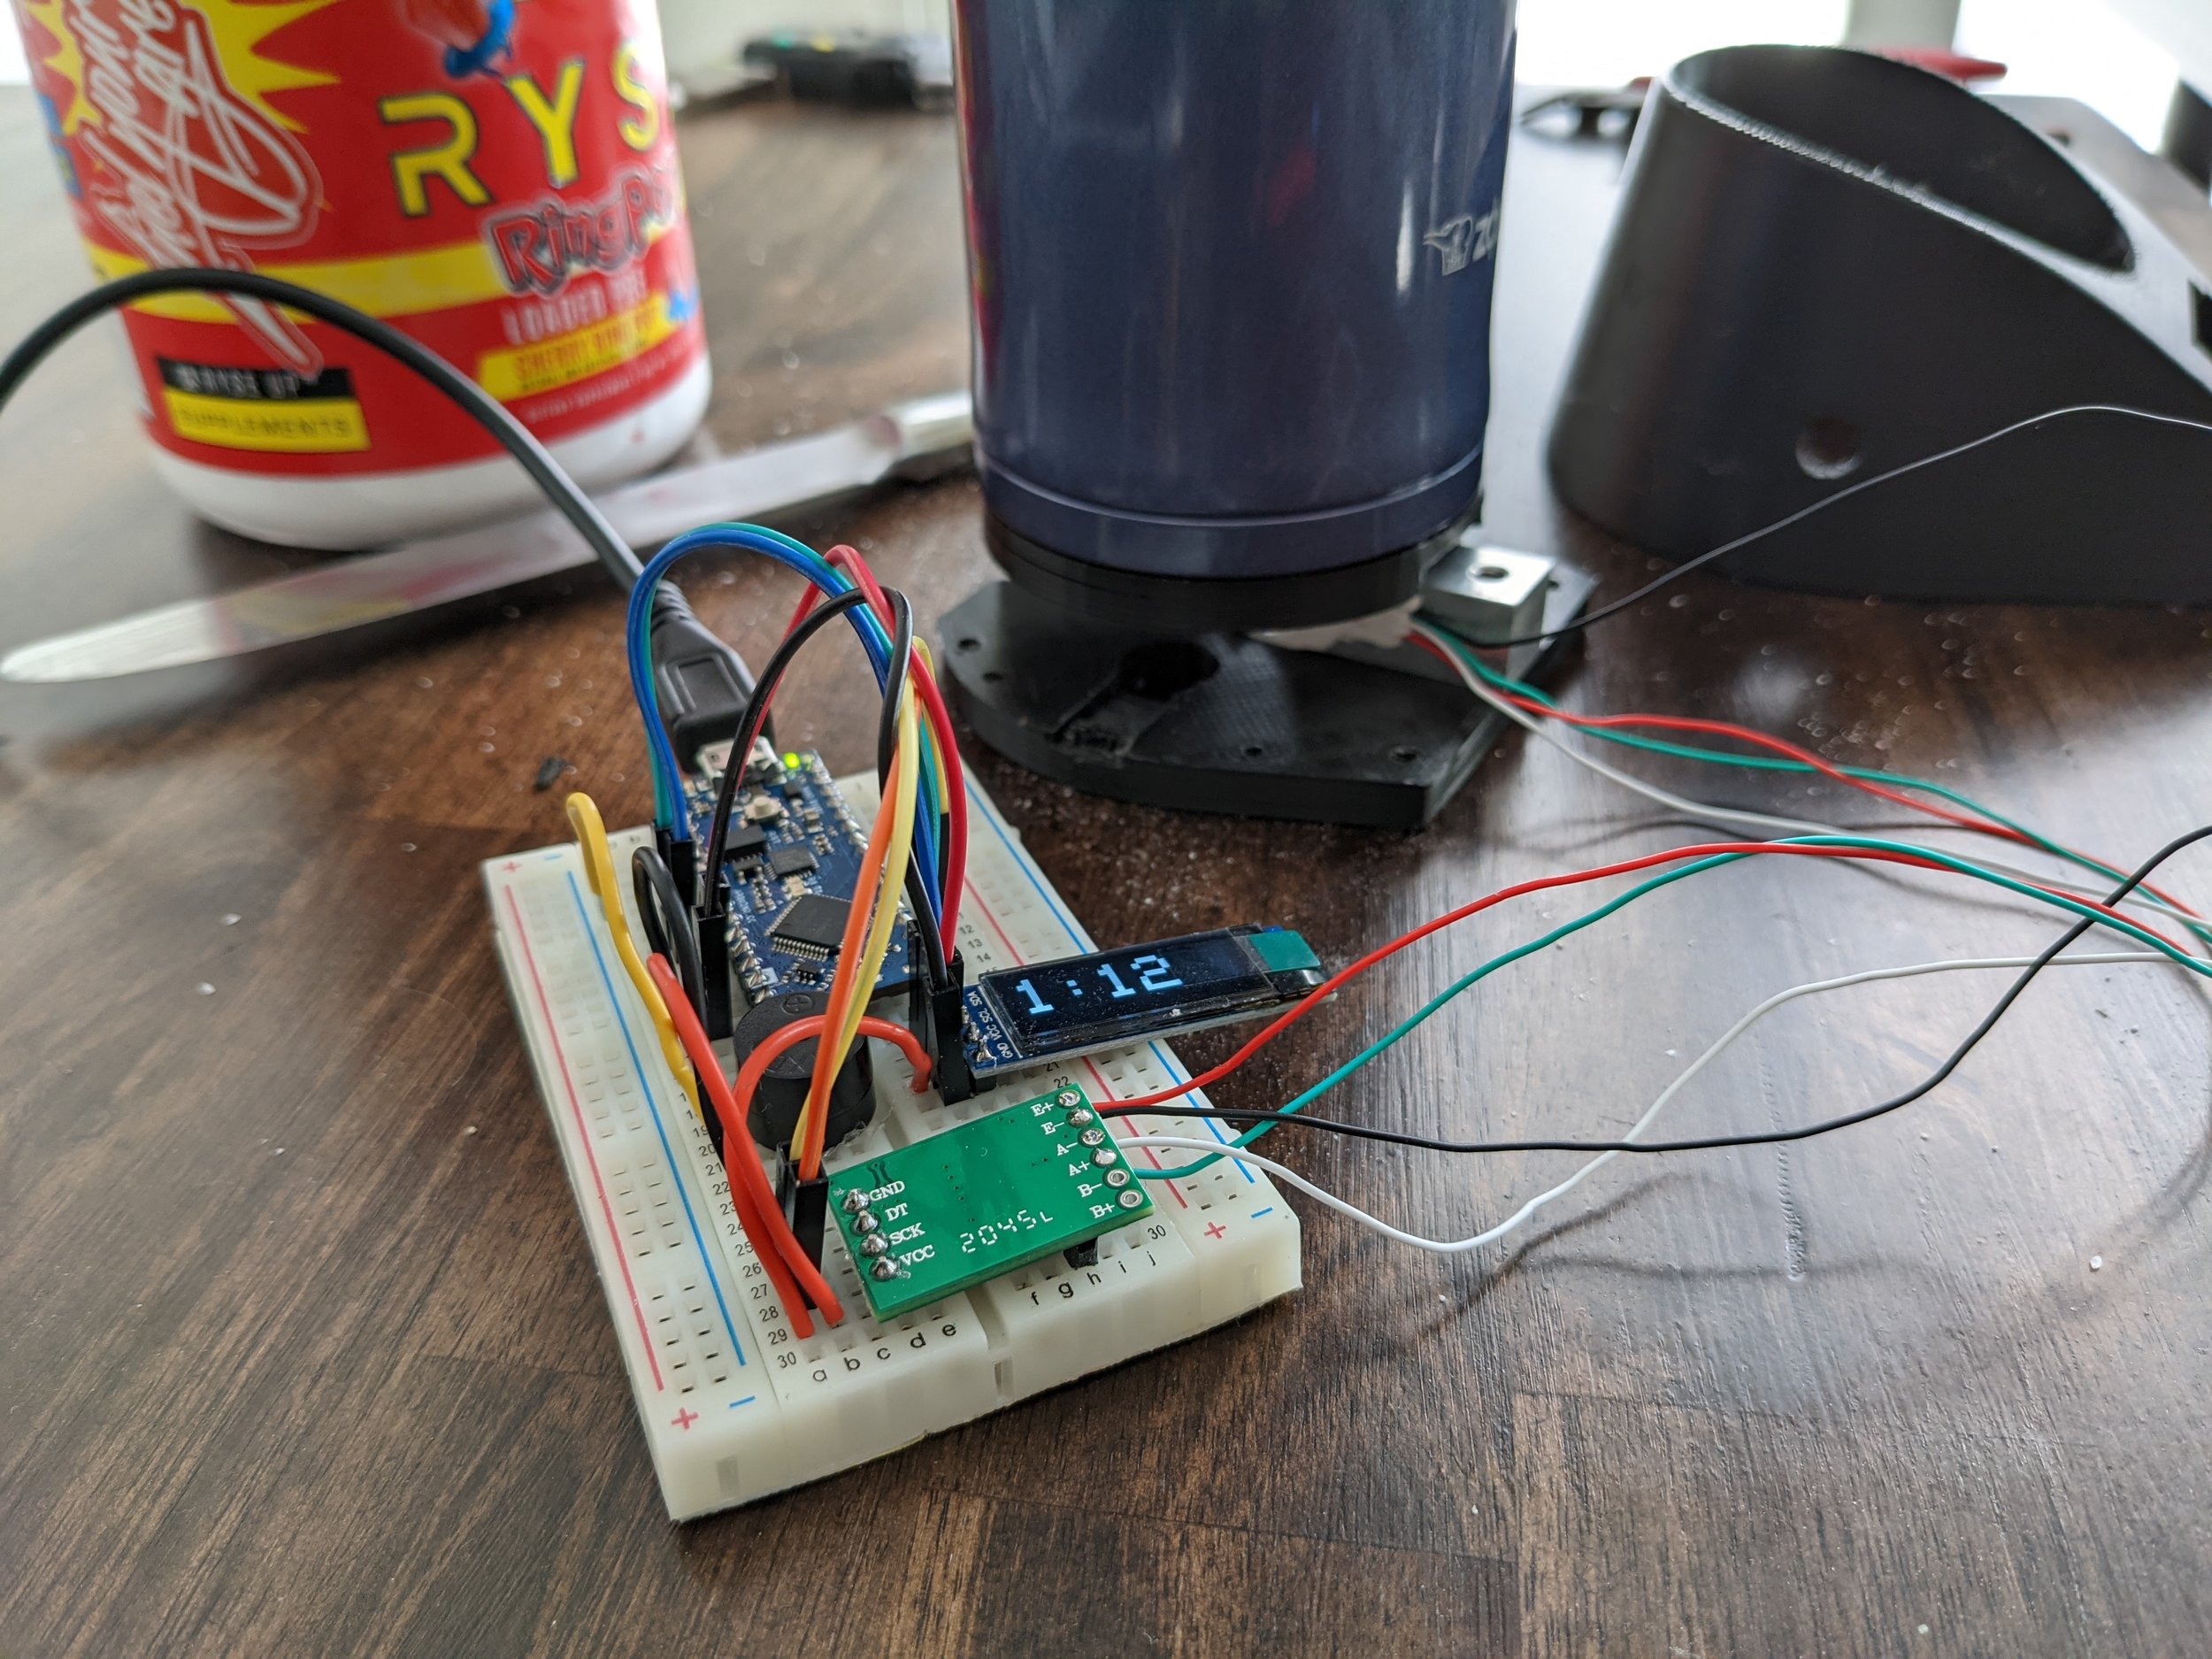
The OLED screen and buzzer arrived earlier than expected, and since the arduino arrived earlier than expected I was able to test the OLED with an example sketch and start working on a prototype, scale-less version of the alarm.
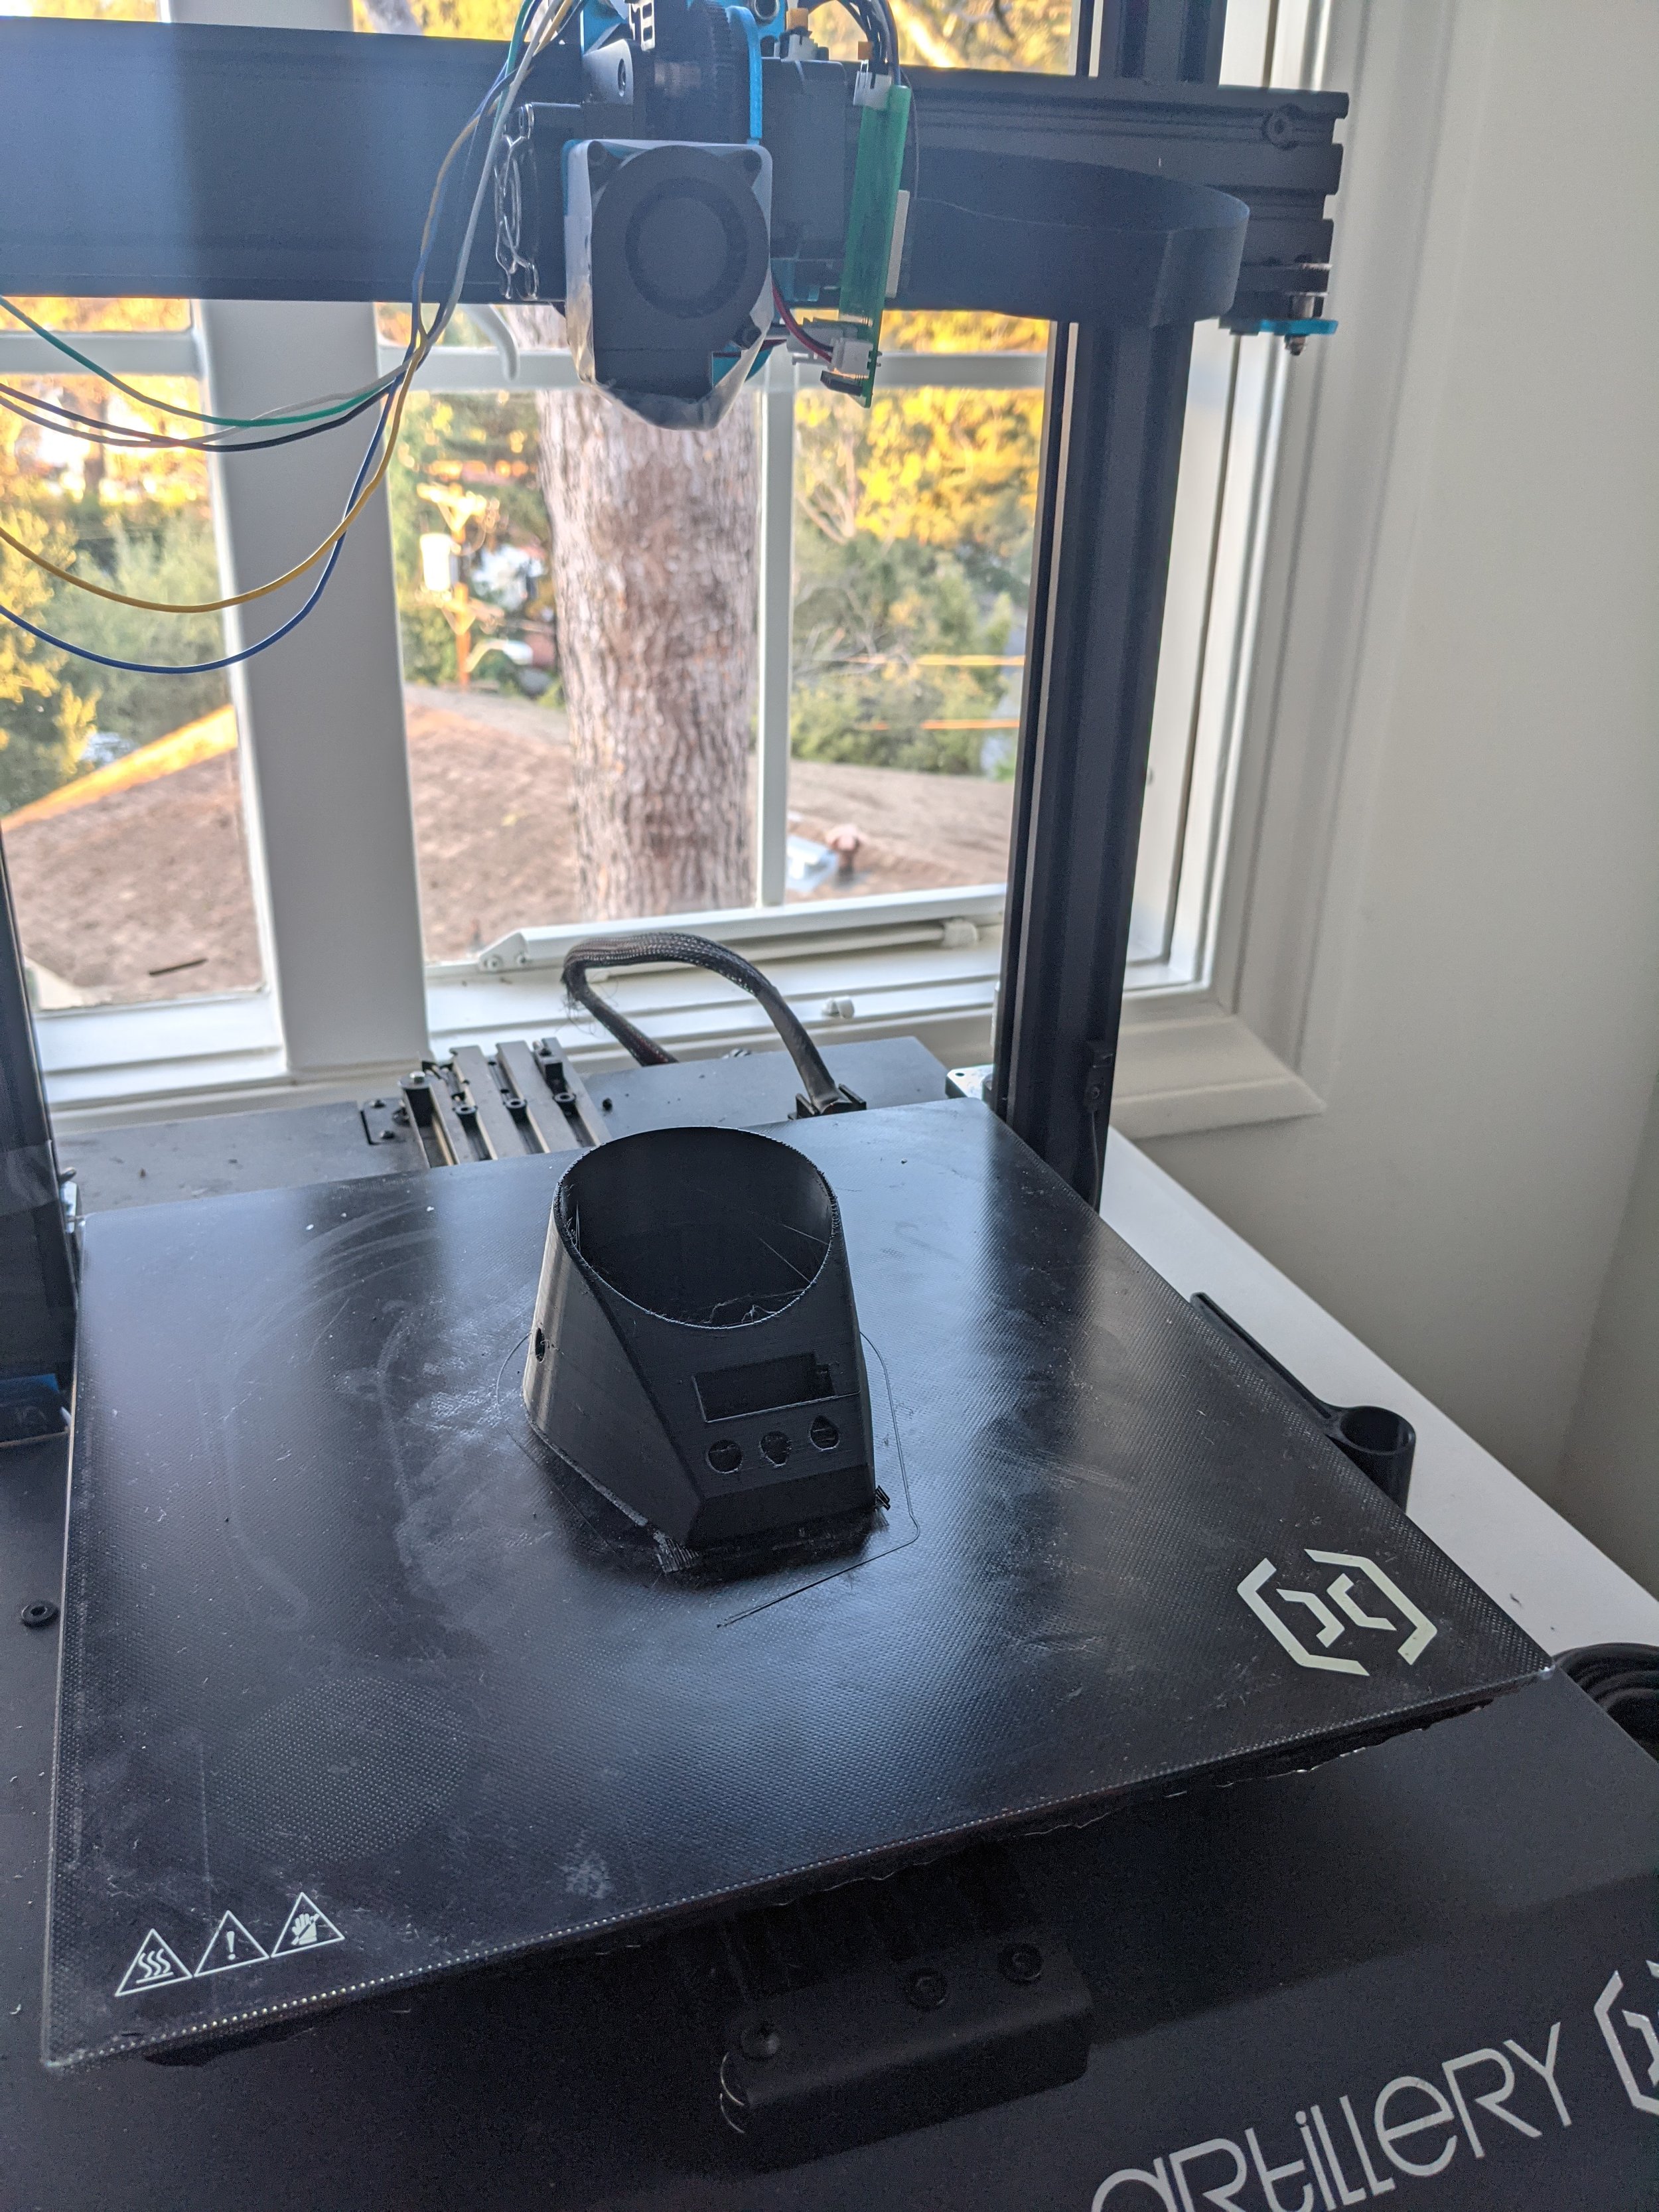
Later the same day I finished the CAD and started printing I made a basic prototype breadboard and wrote some basic Arduino code for the project. It worked really well the next morning, and later I assembled it into its enclosure, soldered the wires in place, and wrote more detailed code.
The final case was relatively easy to assemble, but I made the mistake of not testing the OLED soldered in, so I had to dissassemble it in order to test & replace it.
Buttons from left to righ: set, time down, time up
Sense of scale next to bluetooth headphones on desk
Completed Device!
Timeline
11/15: Revised concept, components ordered (3D printer broken)
11/17: OLED screen & buzzer validated with Arduino Nano Every @ 5V (3 cheers for utterly dystopian free delivery speeds)
11/19: 3D printer repaired,
11/20: CAD started, last components arrived, load cell validated
11/21: CAD finished, 3D prints ran, prototype breadboard made, basic code written (time & alarm hard-coded, single alarm volume, etc)
11/22: First wake up using unassembled alarm
11/25: Final code implemented
Some added features of the final device:
Scale that turns off loud buzzer only after empty thermos is weighed. Accurate scale that self-calibrates prevents user (me) from faking the weight of an empty bottle.
Alarm reduces to 25% volume after the user has picked up bottle for 1 min (and then resumes at max volume if they’re too slow).
Quick alarm & time setting via face buttons & screen UI (screen blinks during setting mode)
Lockout that prevents alarm editing in the hours before the alarm
Bottom plate that captures USB, preventing unplugging of cord to turn off alarm
Overall this blog ended up being way too long relative to the scope of this project (this <15 hour project gets half as much writing as my 100+ hour endeavor in incomplete combat robots) but I’m really happy how it turned out! The project came together in less than a week unincluding delivery time and the outcome is super useful in maintaining a good exercise schedule!
Update: 12/8 added a 100 ohm resistor in series with the buzzer since I was waking up the dog.

